
Detailing your car for the first time can feel overwhelming. Between waxes, coatings, clay bars, and a dozen different cleaners, it’s easy to not know where to start — or to do things in the wrong order and undo your own work.
The good news: car detailing isn’t complicated once you understand the why behind each step. This checklist breaks the process down into a simple, repeatable order that professionals actually follow, so you can get showroom-quality results in a single weekend — no experience required.
At SurLuster, we’ve spent decades since 1947 developing car care products that make each of these steps easier for everyday drivers, not just professionals. Here’s the exact order to follow, and what each stage is actually doing for your car.
Why the Order Matters
Every detailing step builds on the one before it. Wax over dirty paint and you’ll just seal in grime. Polish before washing and you’ll grind dust into the clear coat. Skipping steps doesn’t save time — it just means redoing work later. Follow this order and each stage sets your car up for the next:
- Wash
- Decontaminate
- Polish (optional, but recommended)
- Protect (wax or coating)
- Wheels & tires
- Glass & Parts (Headlights)
- Interior
Let’s go through each one.
1.Wash: Start With a Clean Foundation
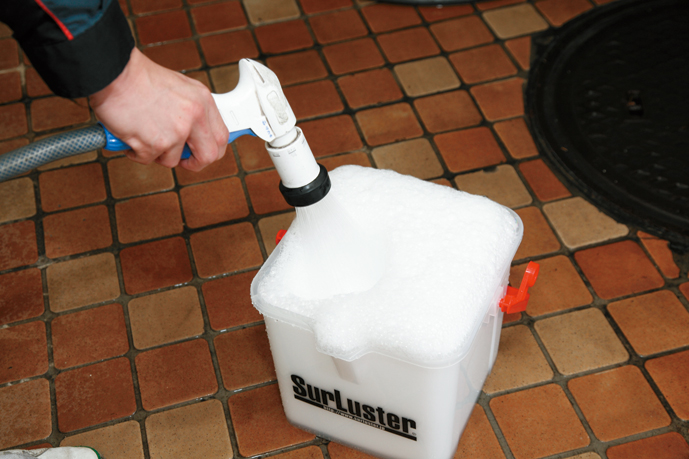
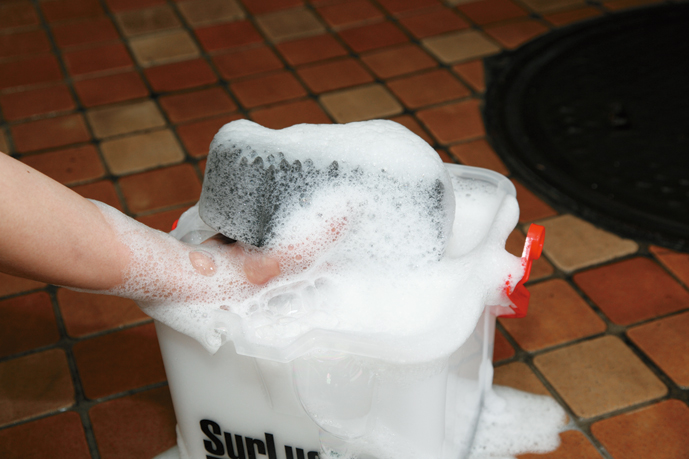
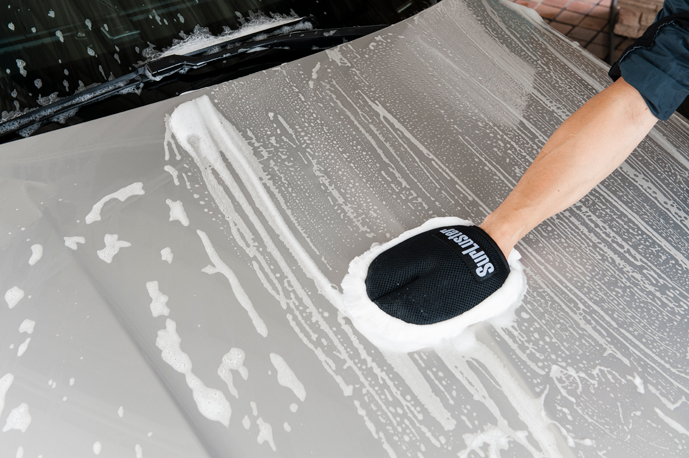
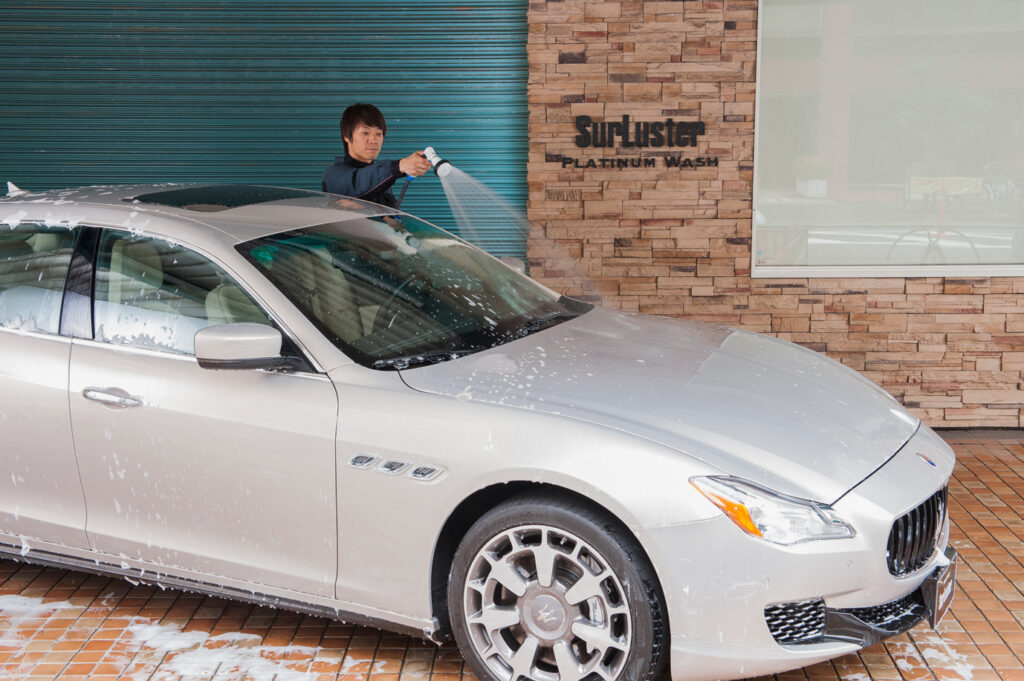
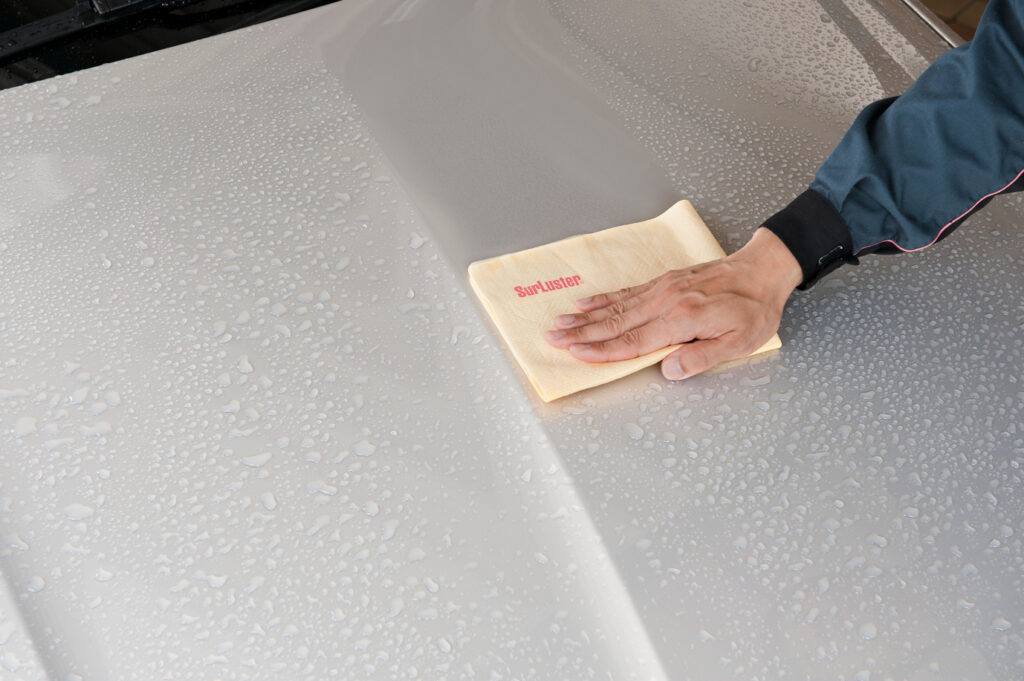
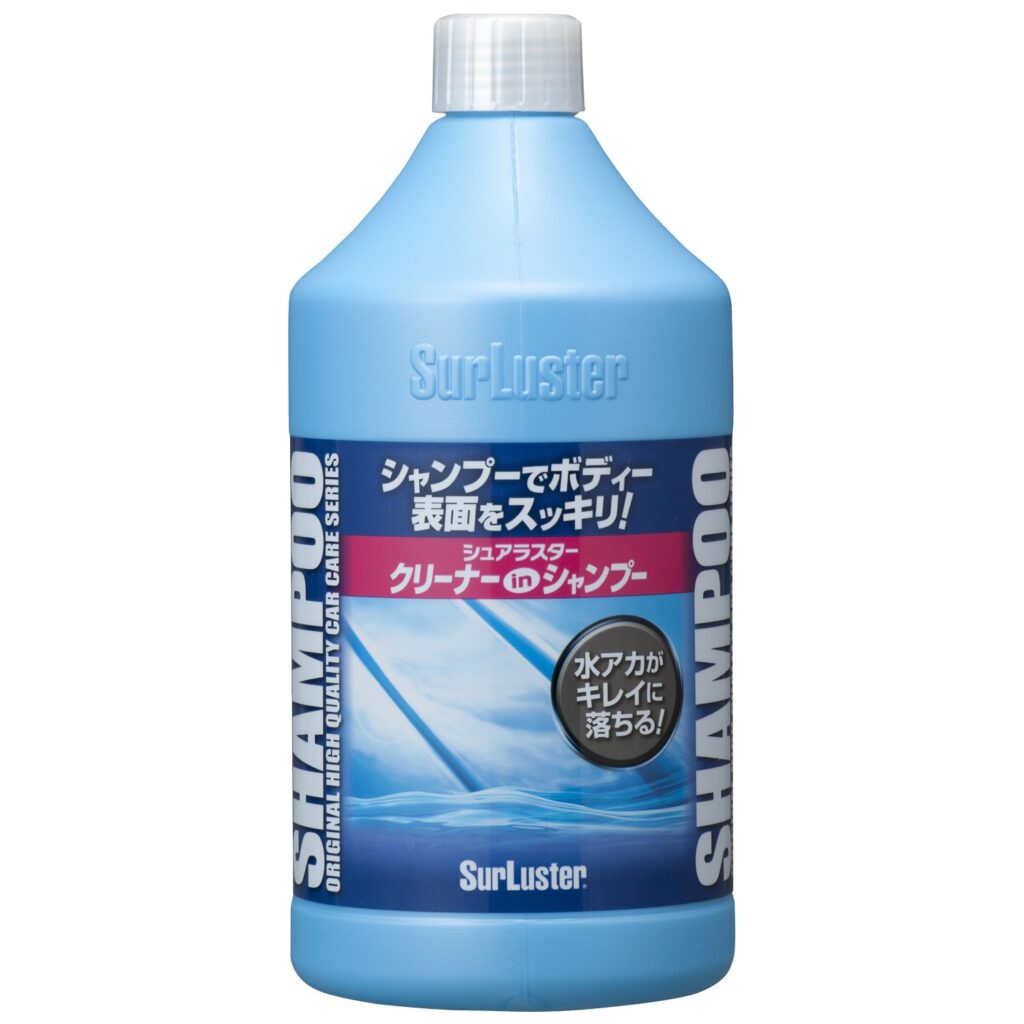
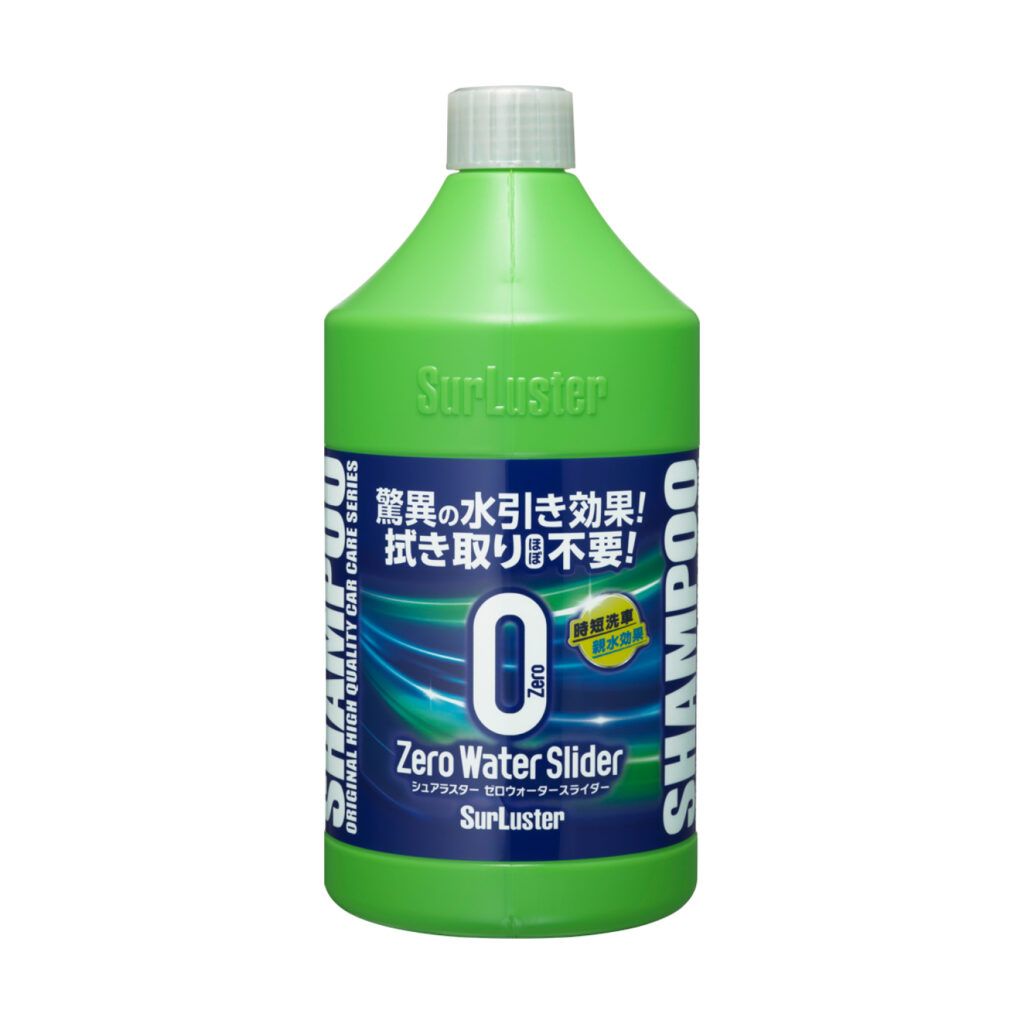
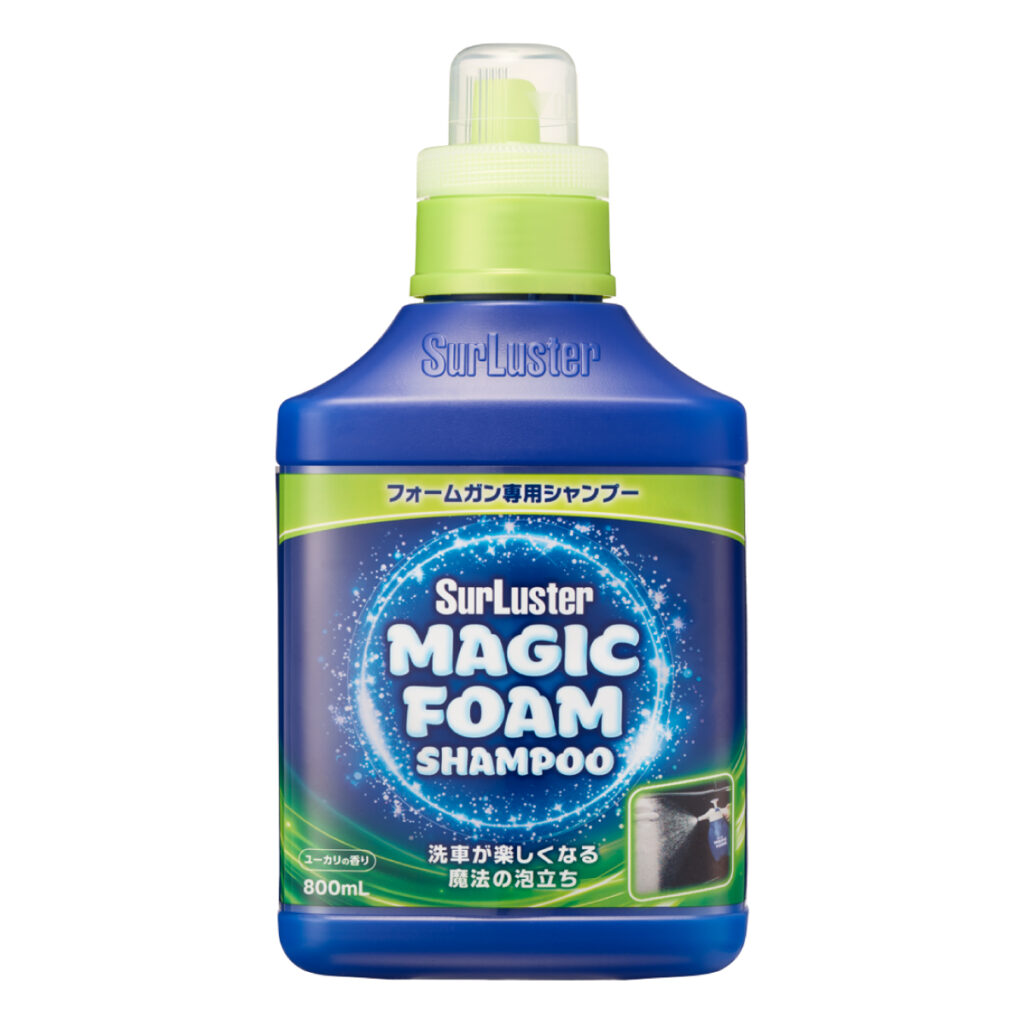
Every detail starts with a proper wash — not a quick rinse, but a two-bucket wash using a dedicated car shampoo (never dish soap, which strips protective coatings and dries out rubber trim).
What to do:
- Rinse the whole car first to loosen loose dirt and grit.
- Wash from the top down using a soft mitt and a pH-balanced car shampoo.
- Use two buckets — one with soapy water, one with clean rinse water — to avoid dragging grit back onto the paint.
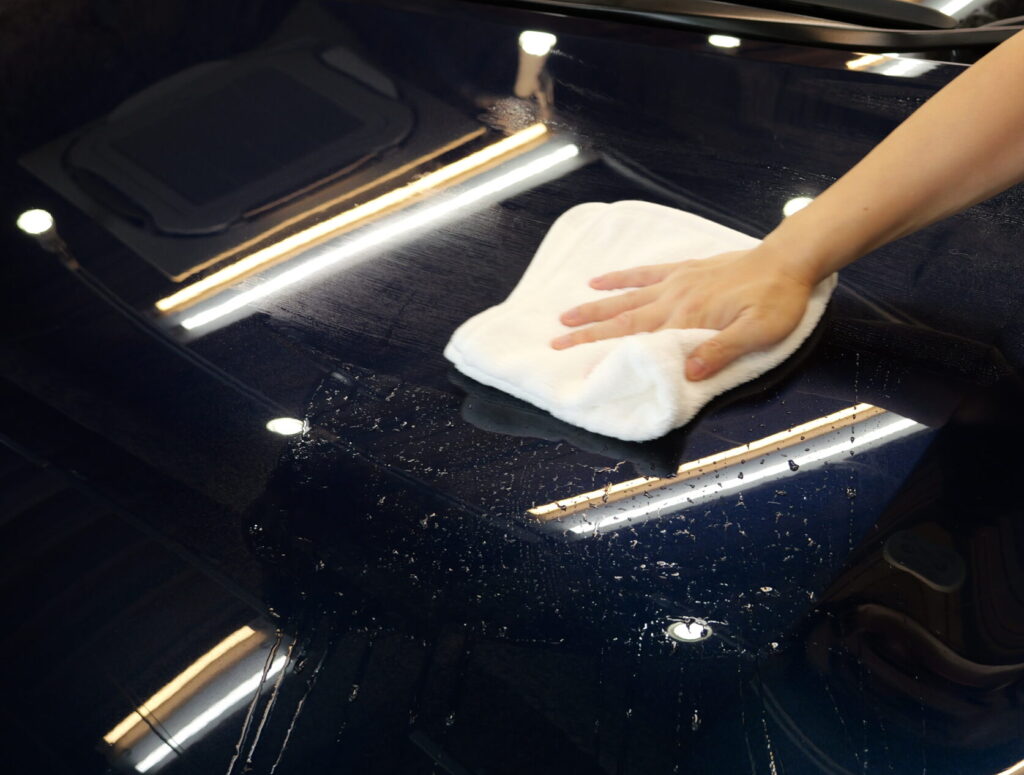
- Dry with a plush microfiber towel or drying towel, not the wind.
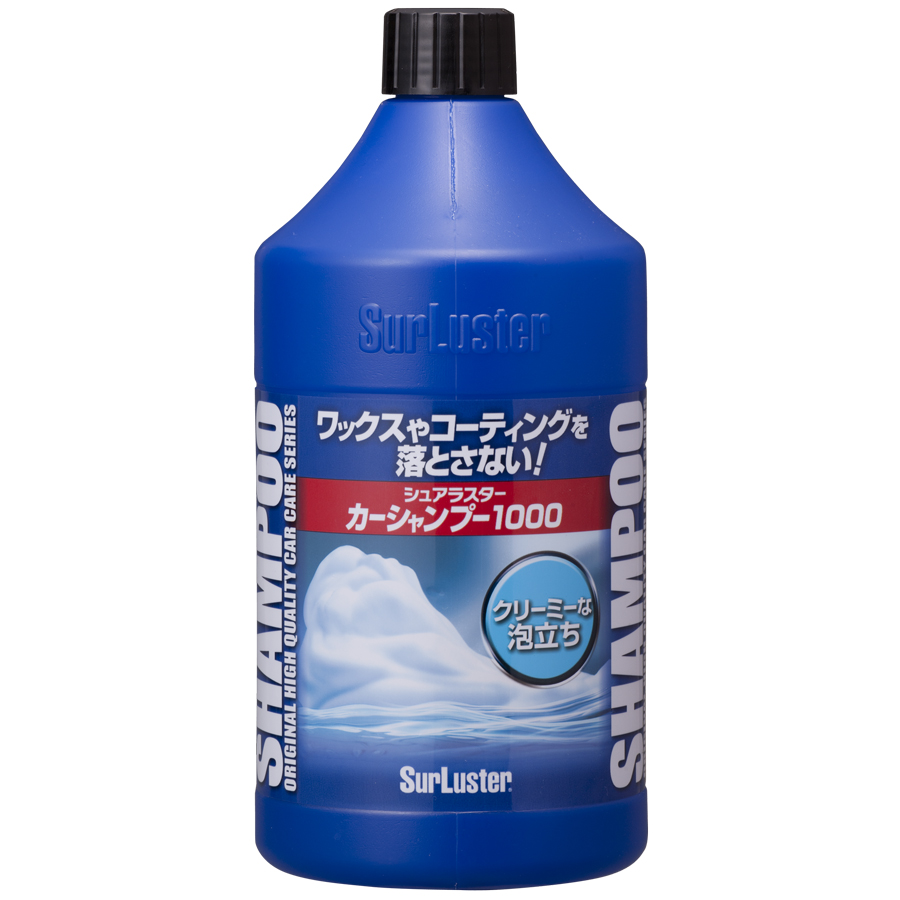
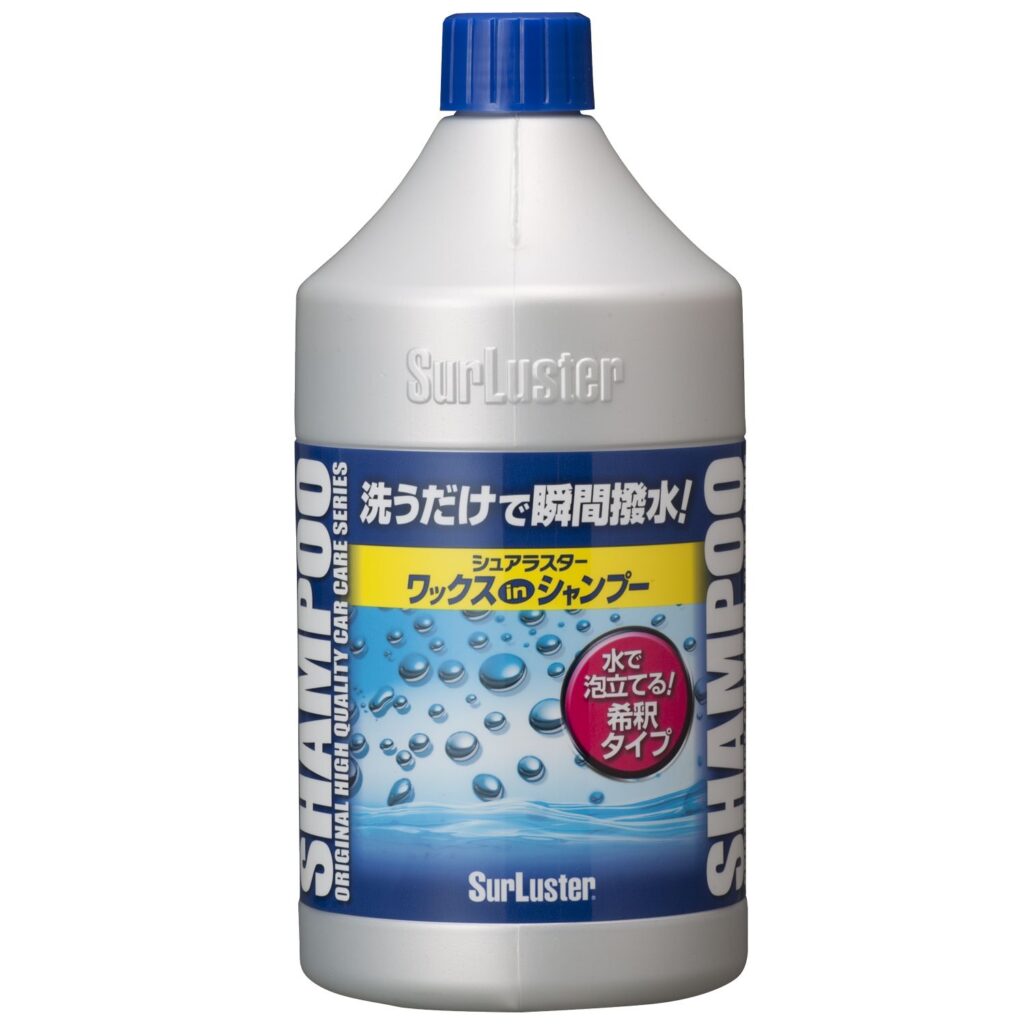
A quality car shampoo is doing more than making suds; it’s lifting dirt safely off the surface without scratching the clear coat underneath, which is why the shampoo you choose matters as much as your technique.
2.Decontaminate: Remove What Washing Can’t
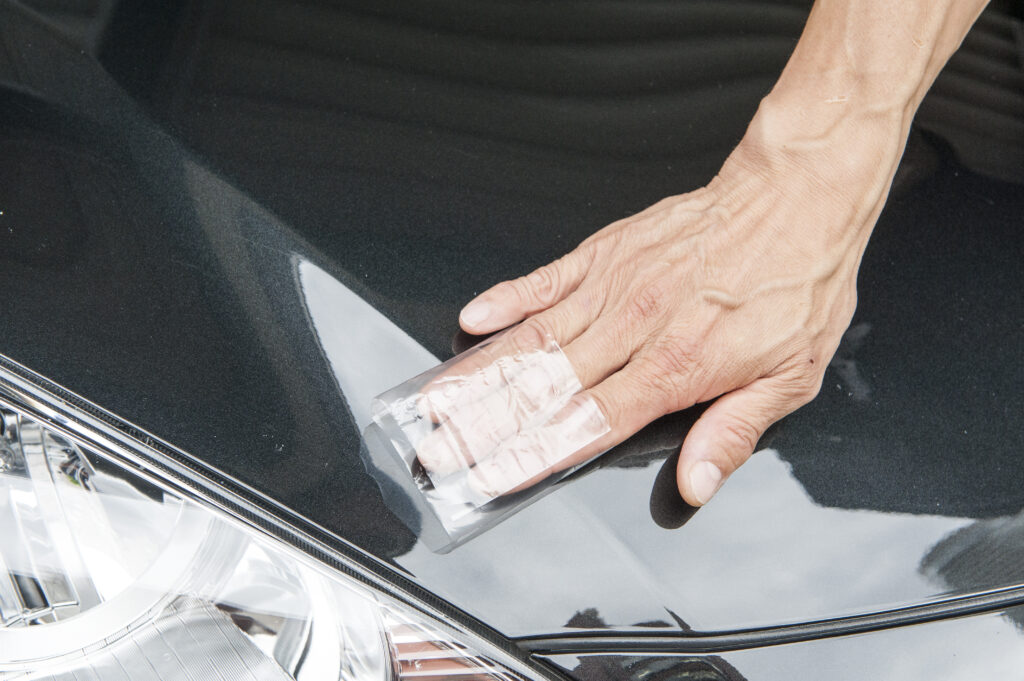
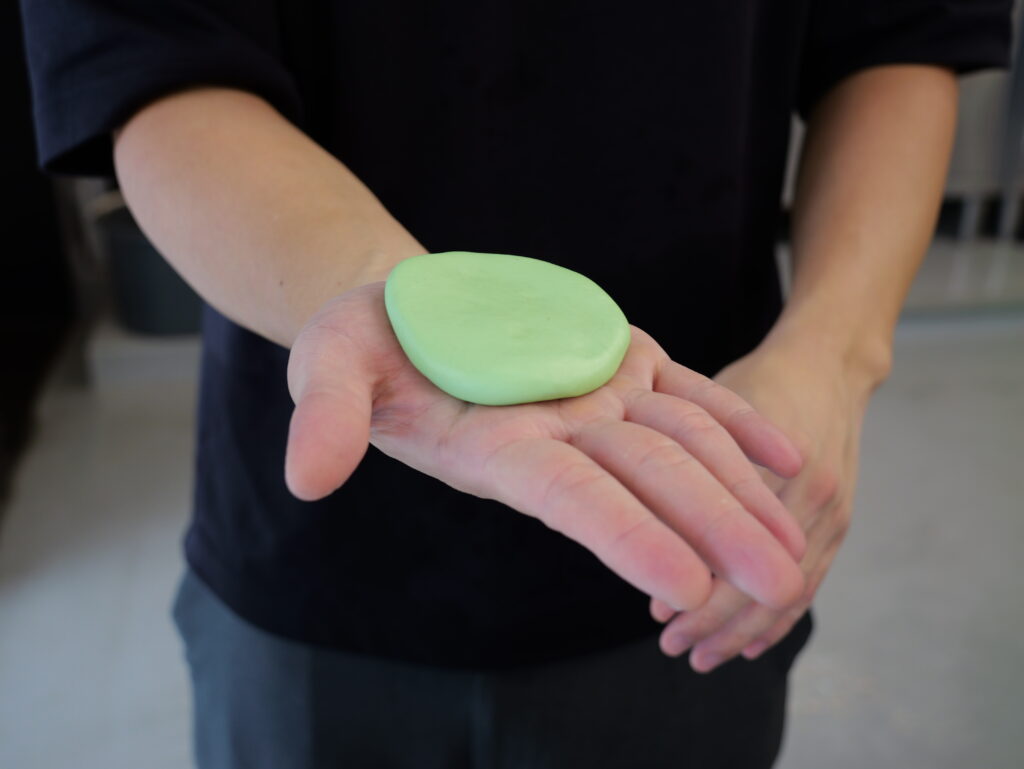
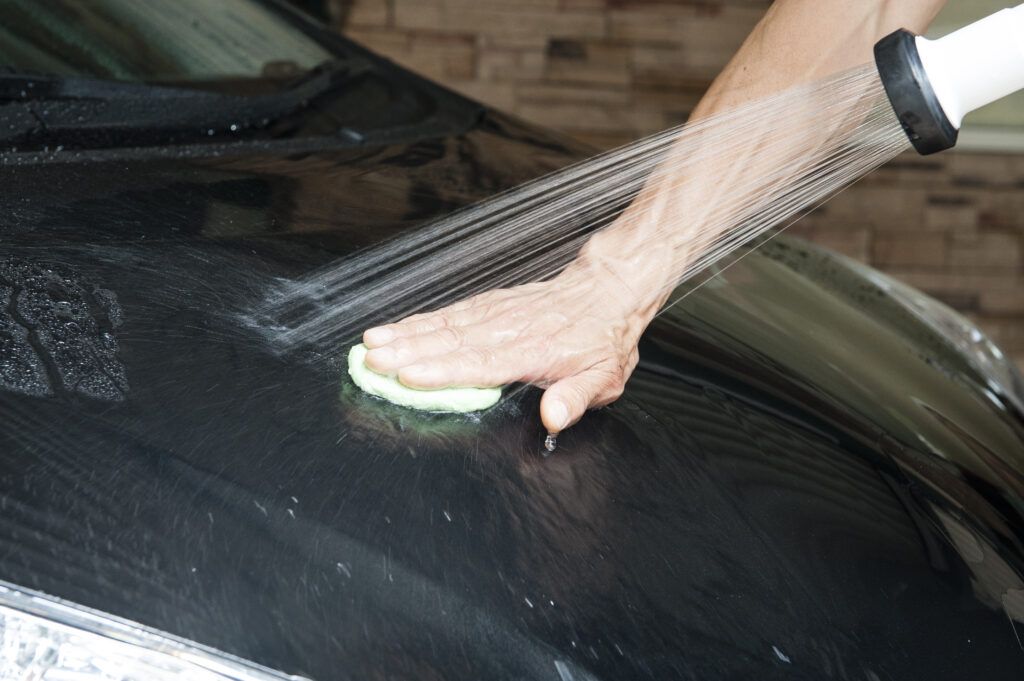
After washing, run your hand over the paint (through a plastic bag for a clearer feel). If it feels gritty or bumpy rather than glass-smooth, your car has bonded contaminants — brake dust, tar, tree sap, industrial fallout — that a regular wash won’t remove.
What to do:
- Use a clay bar or clay towel with a dedicated lubricant to lift embedded contaminants.
- Work in small sections with light pressure — let the clay do the work.
- Follow with a quick rinse and dry.
This step is easy to skip because it’s invisible in photos, but it’s the difference between paint that looks clean and paint that is actually smooth — which matters a lot once you get to polishing and waxing.
3.Polish: Restore Clarity and Gloss (Optional but Recommended)
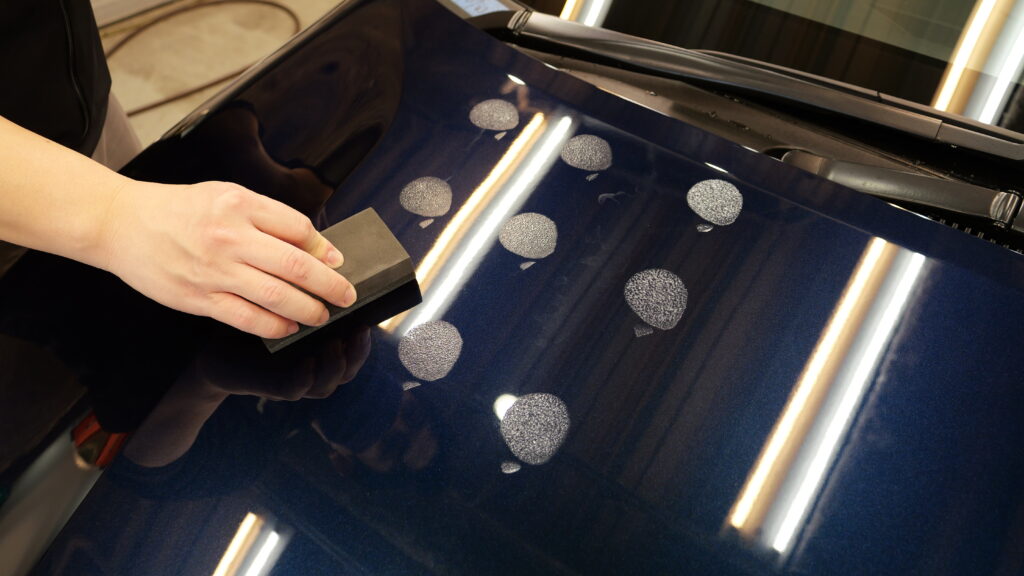
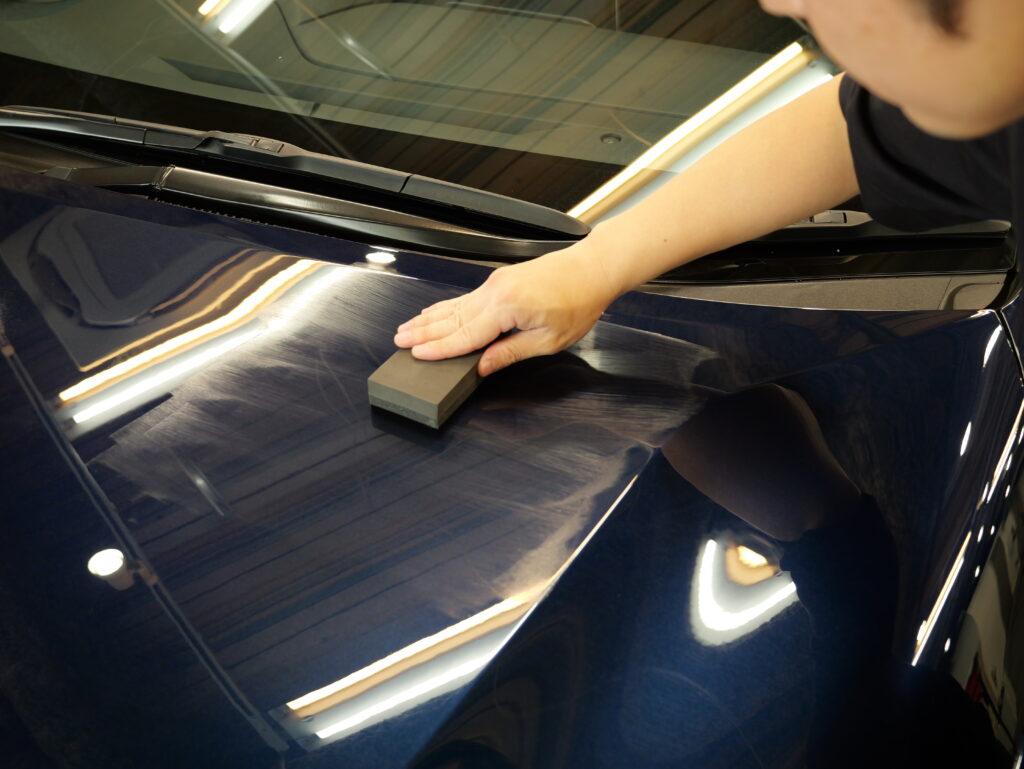
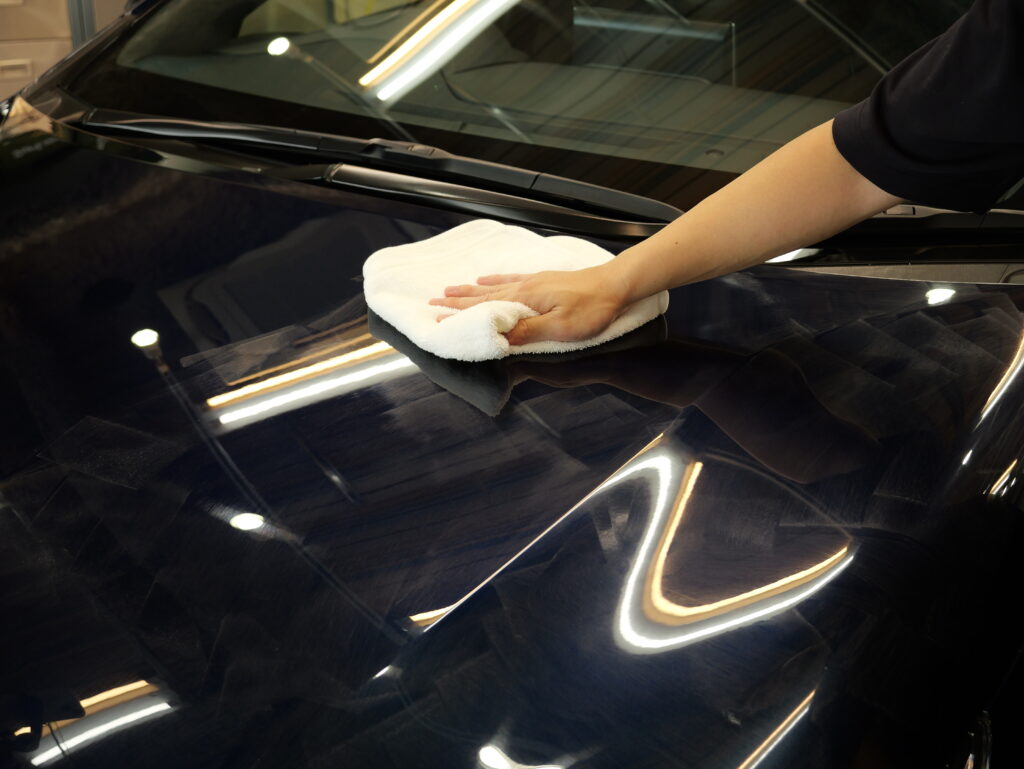
Polishing isn’t the same as waxing. Polish contains mild abrasives that remove very fine swirl marks, light oxidation, and haze, restoring clarity to the clear coat before you seal it in with protection.
What to do:
- Apply a small amount of polish to an applicator pad.
- Work in straight, overlapping lines or small circles, section by section.
- Buff off with a clean microfiber towel.
If your paint already looks deep and glossy, you can skip this step. But on an older or neglected car, this is often the single biggest visual improvement in the whole process.
4.Protect: Wax or Coating
_引き伸ばし-1024x557.jpg)
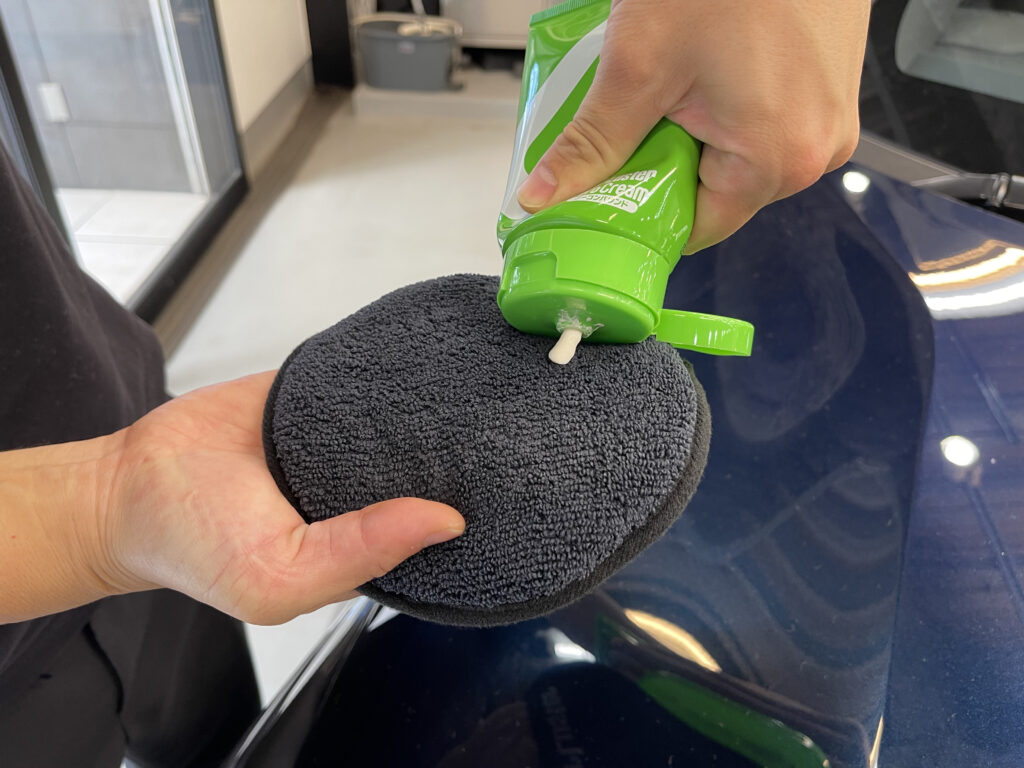
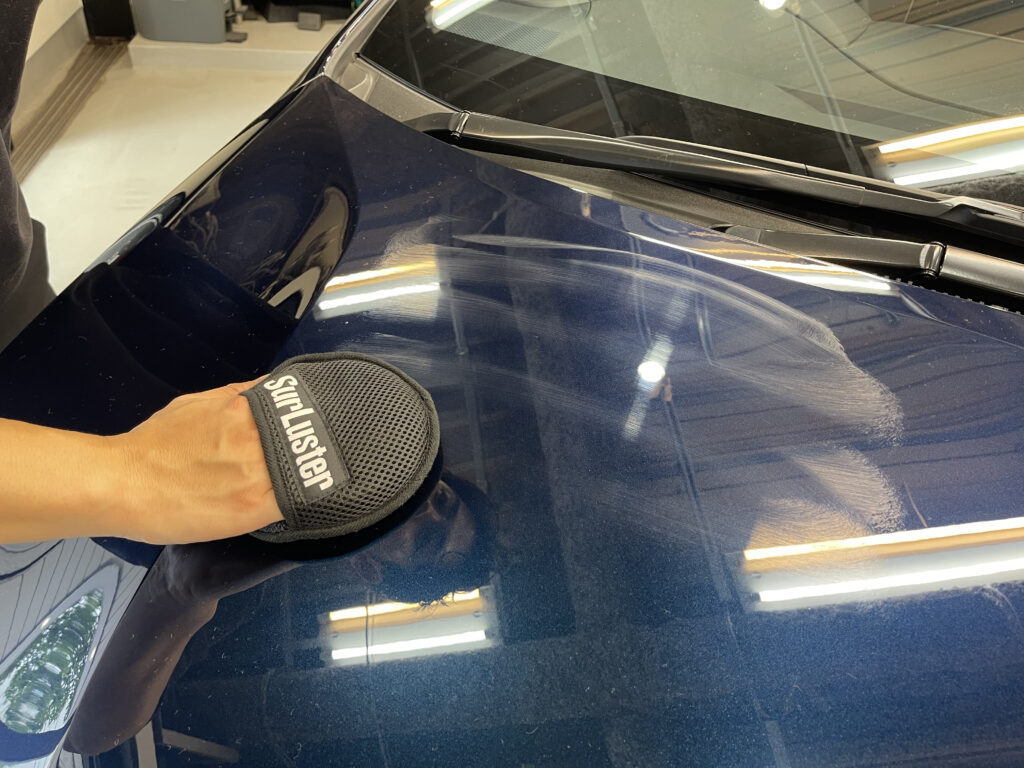
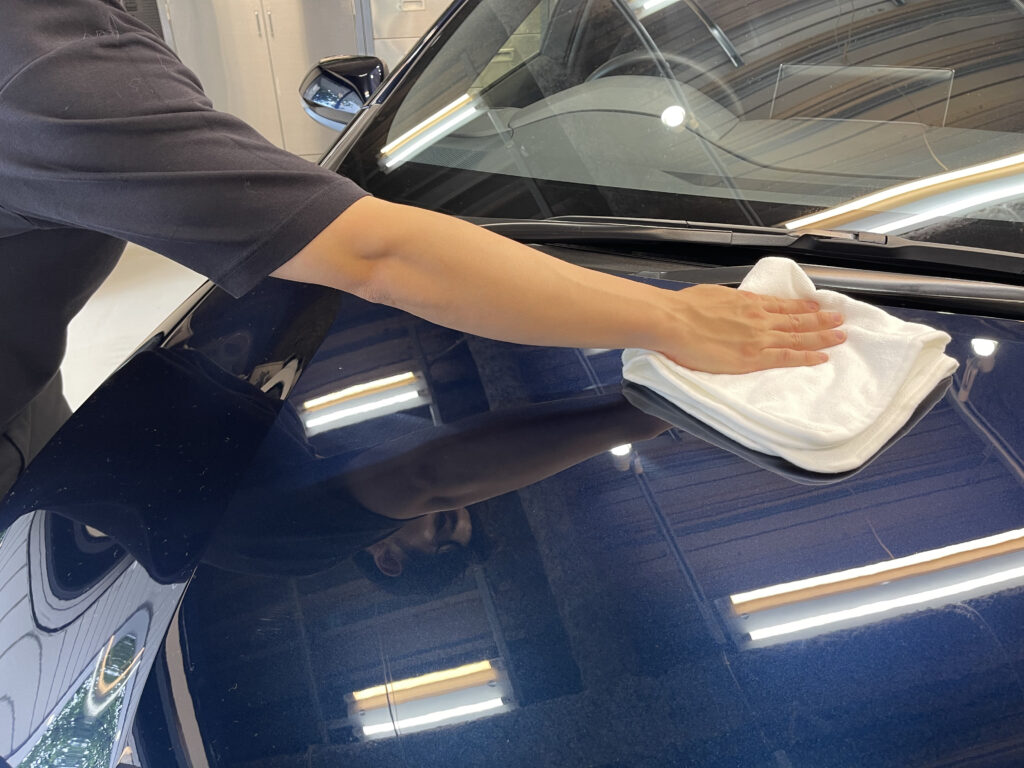
This is the step most beginners think of as “detailing,” but as you can see, it’s actually the fourth step, not the first. Protection products — wax, sealant, or a spray coating — sit on top of clean, smooth, polished paint and:
- Add depth and gloss
- Repel water and make future washing easier
- Shield paint from UV rays, oxidation, and light contamination between washes
Two common options:
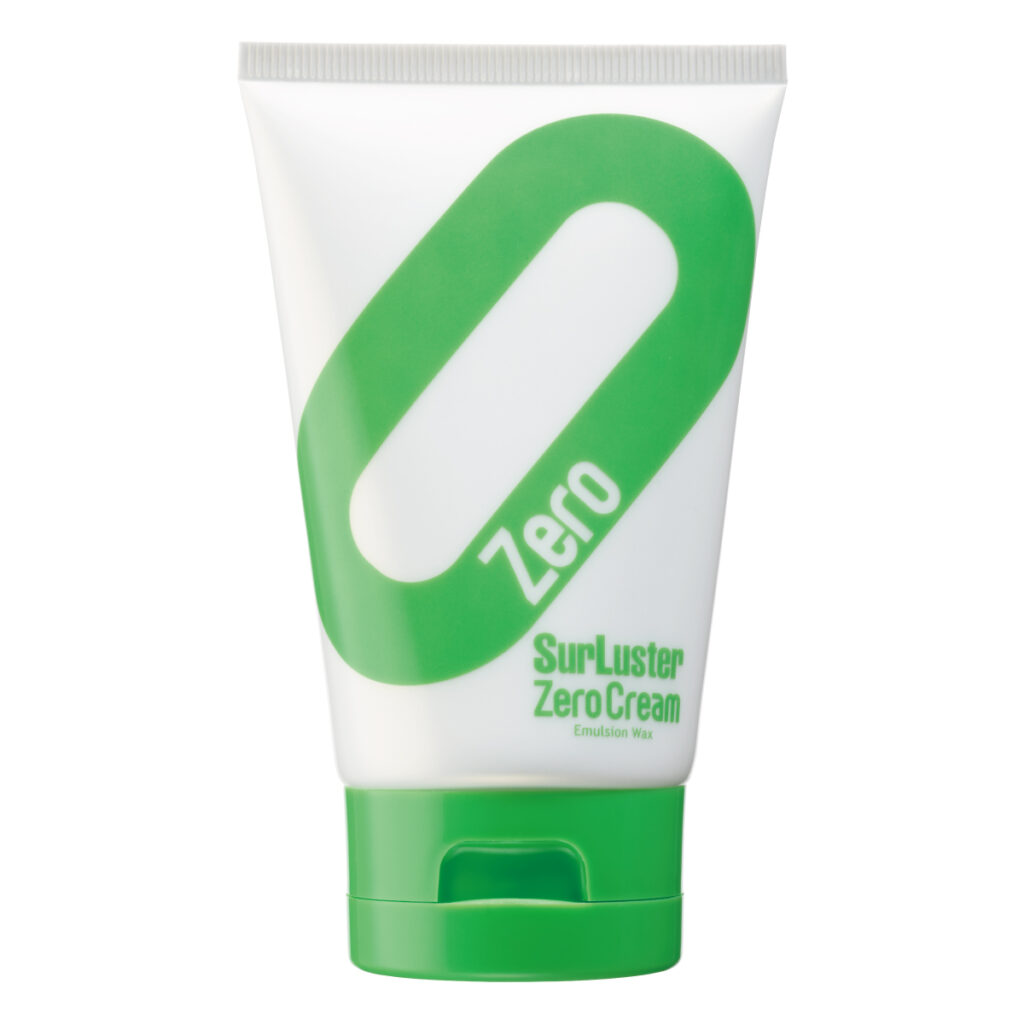
- Traditional wax (like a carnauba-based paste or cream wax) gives a warm, deep shine and is a great choice for weekend detailing rituals.
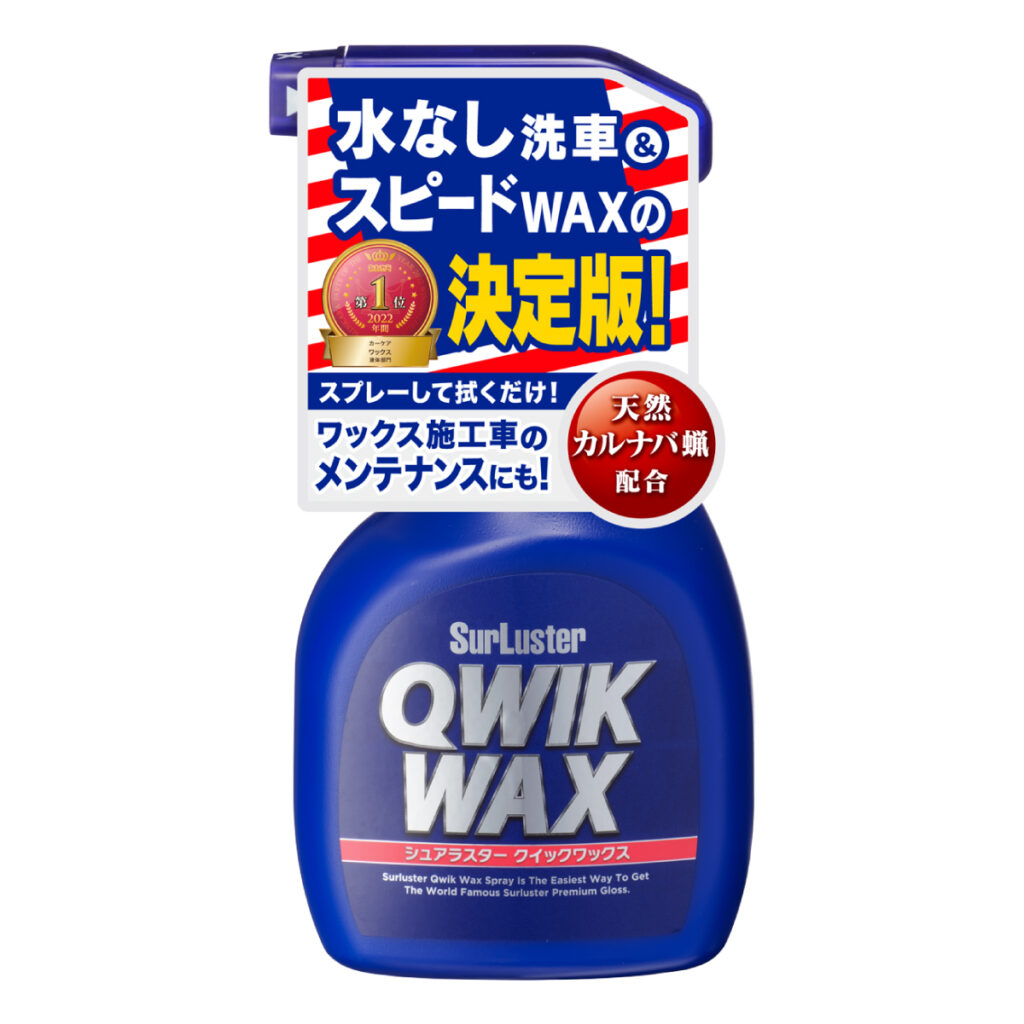
- Spray coatings are faster to apply, often longer-lasting, and ideal for drivers who want strong protection with less hands-on time.
Neither is “better” across the board — it depends on how much time you want to spend and the finish you prefer. Many enthusiasts actually use both: a coating for long-term protection, topped with wax before a car show or weekend drive for extra gloss.
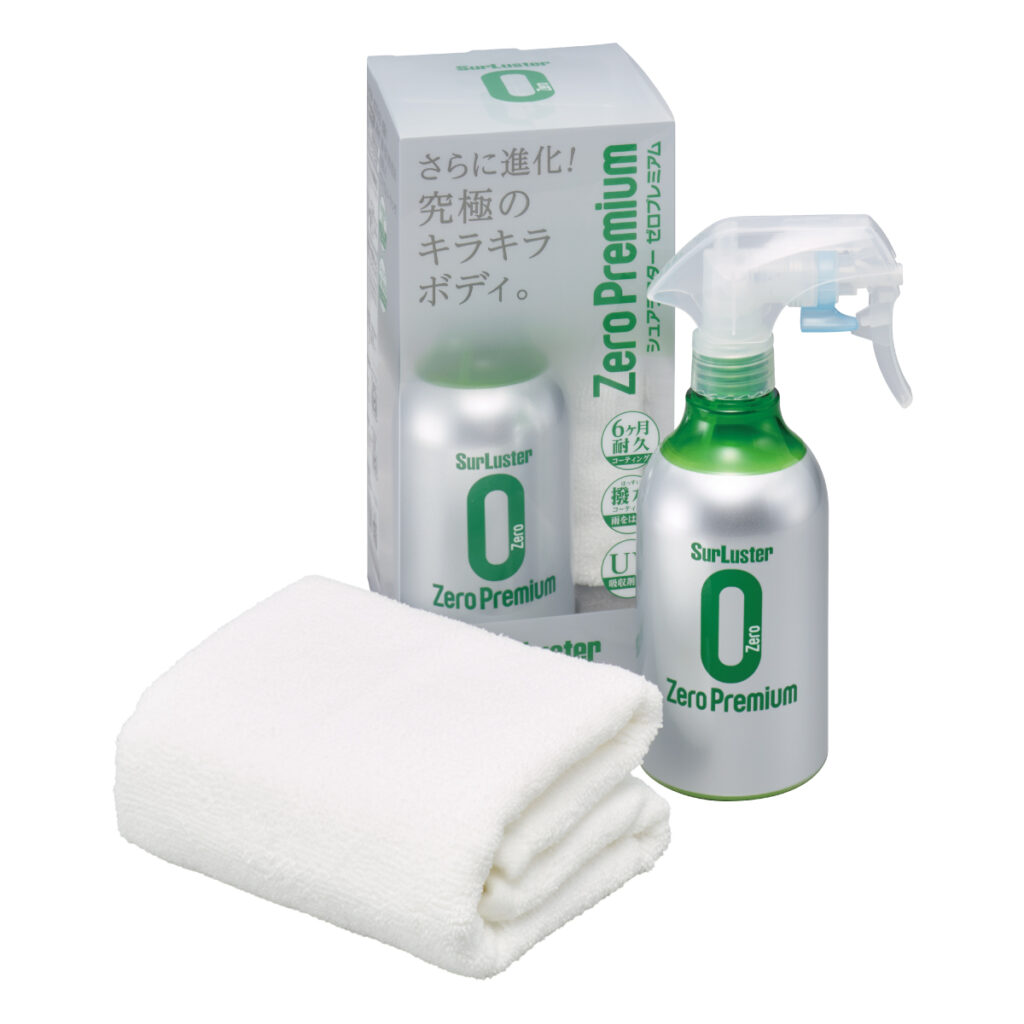
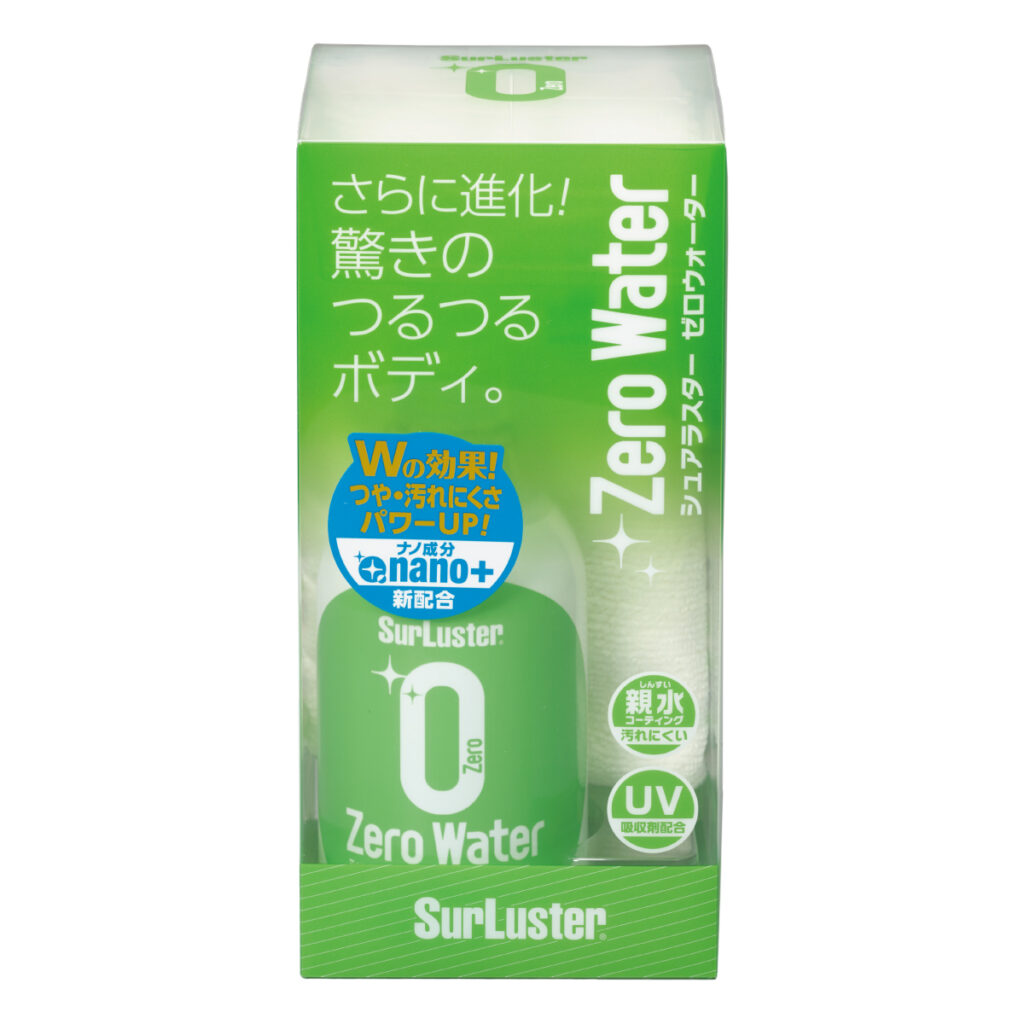
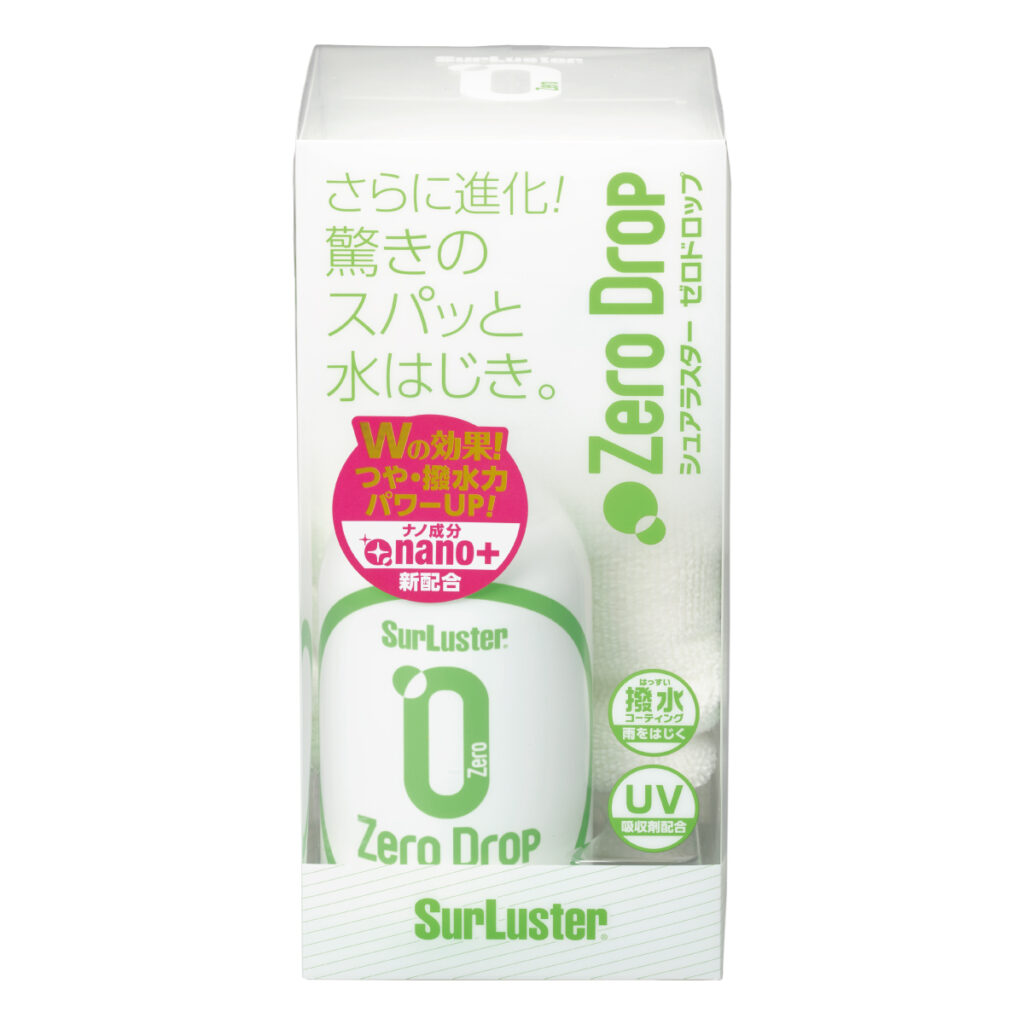
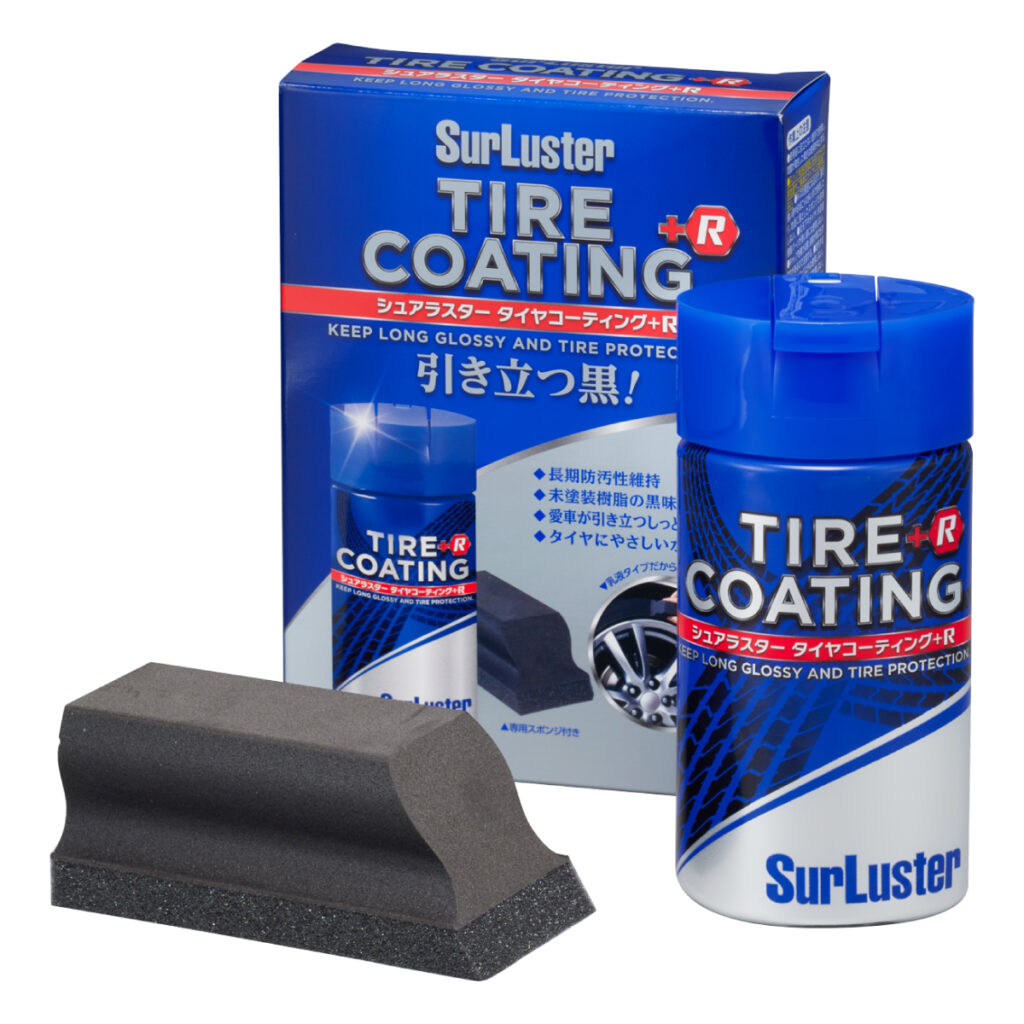
5.Wheels and Tires: Don’t Save Them for Last
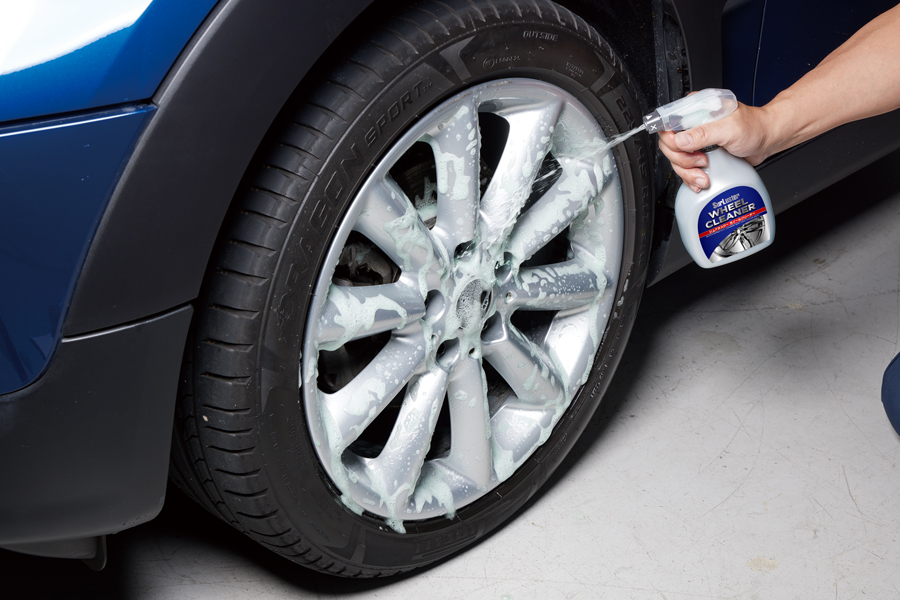
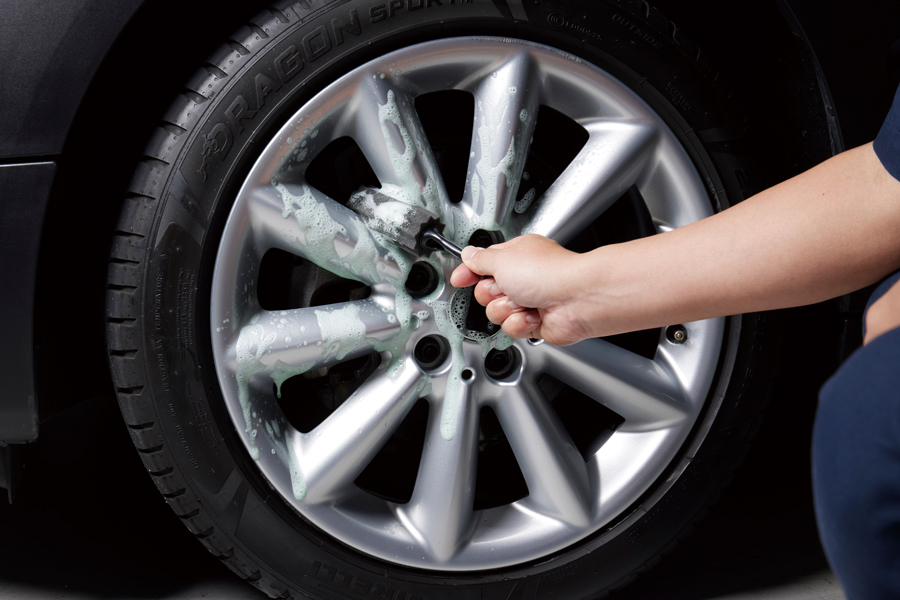
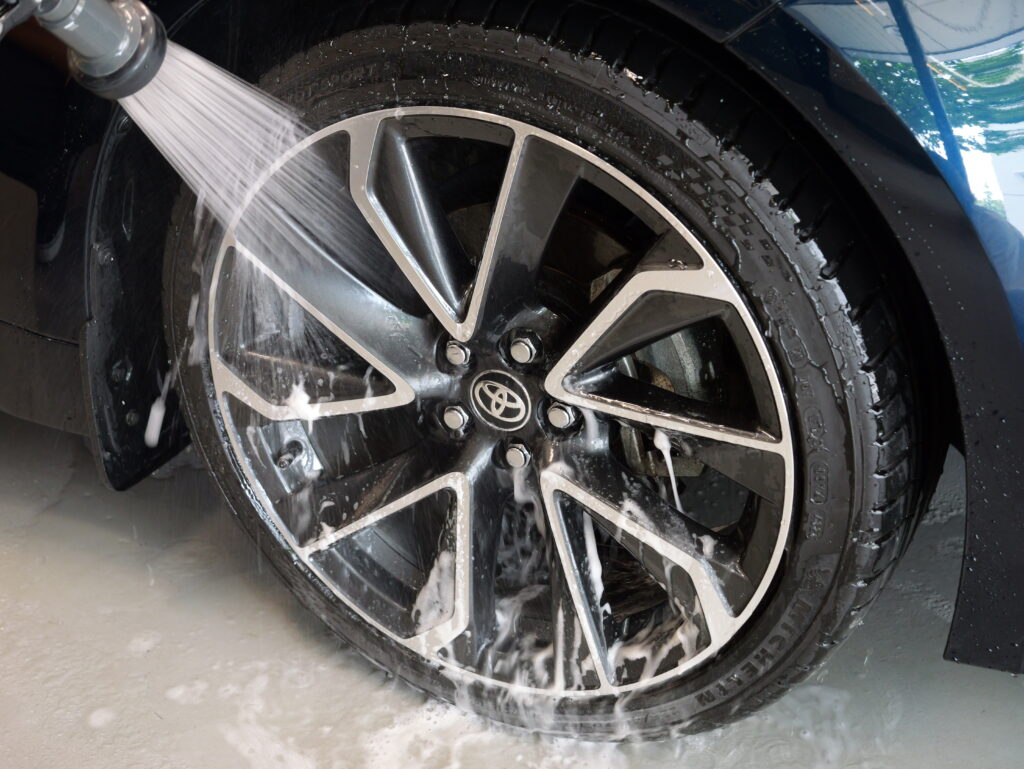
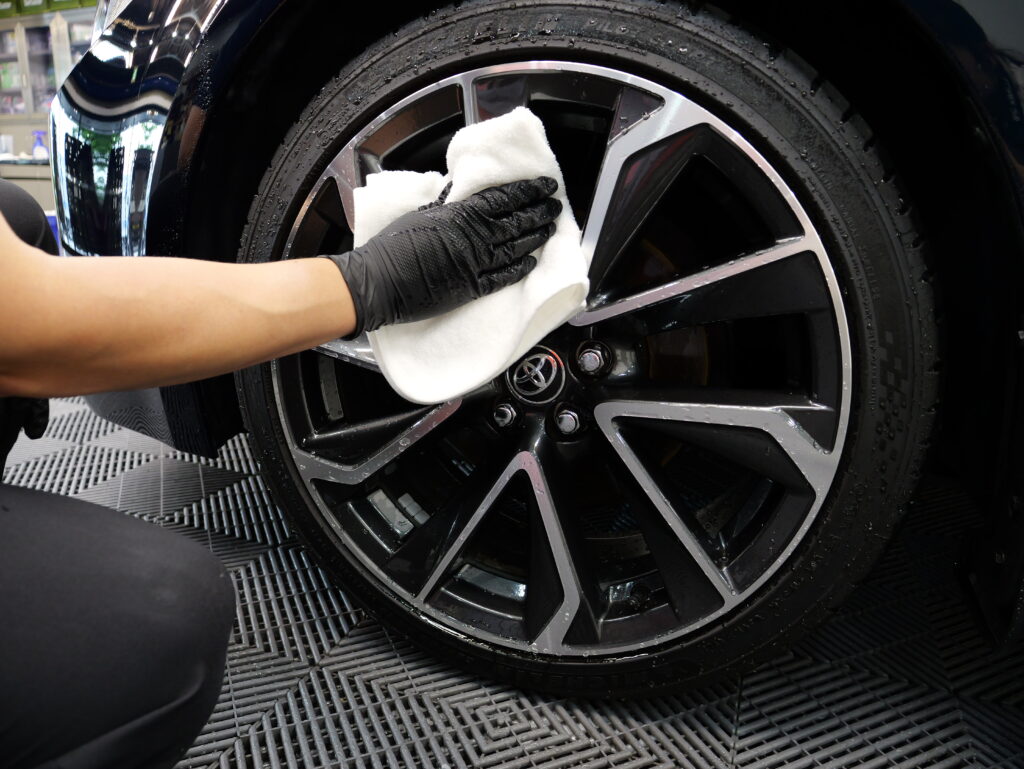
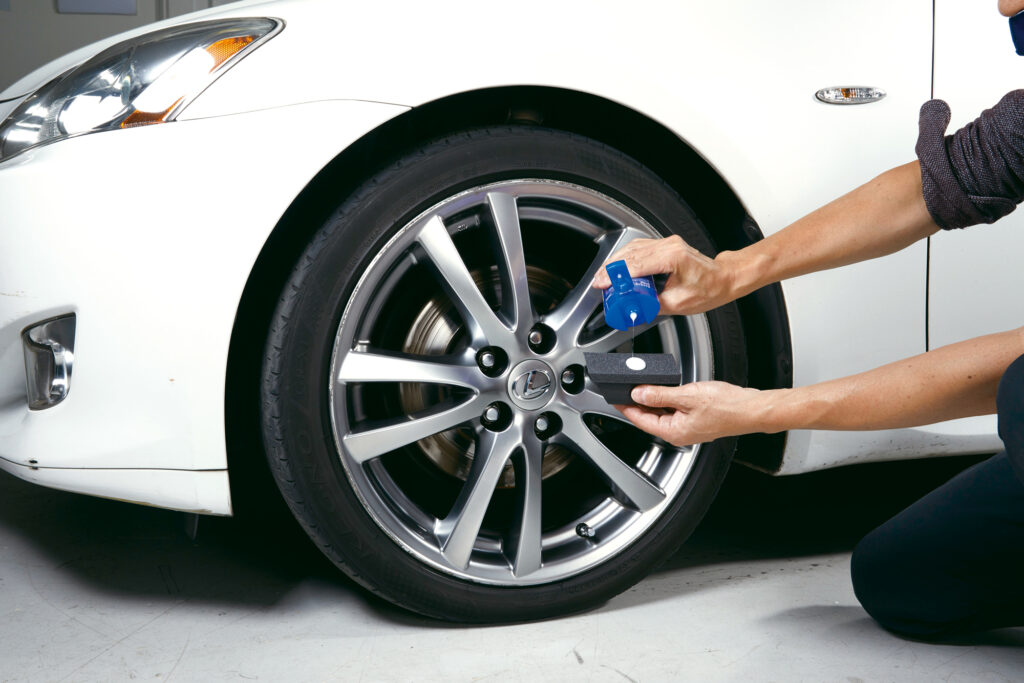
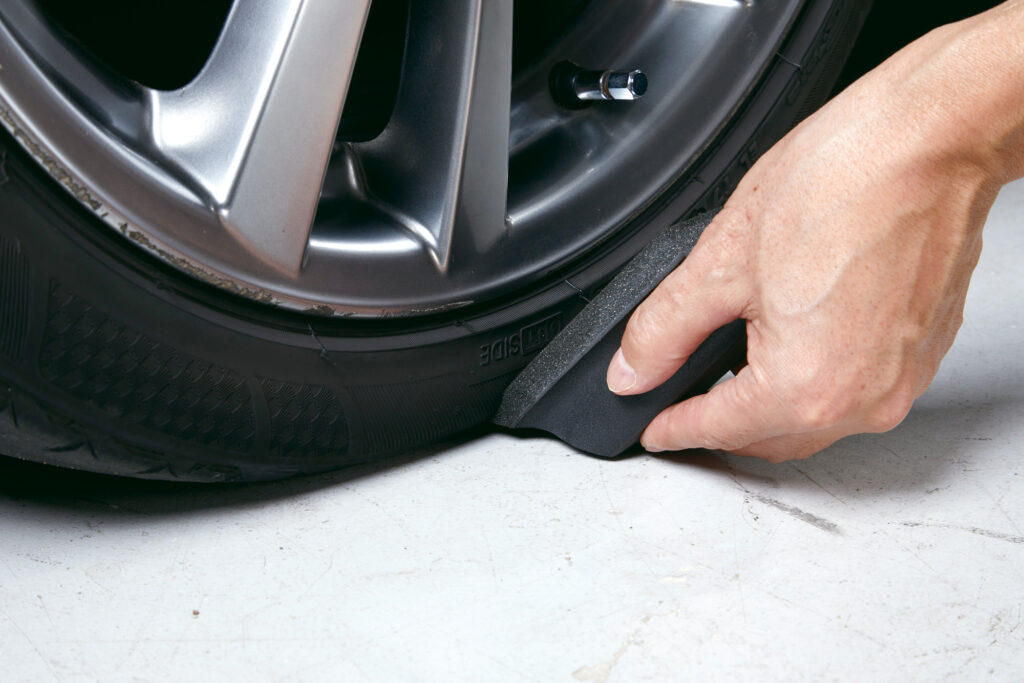
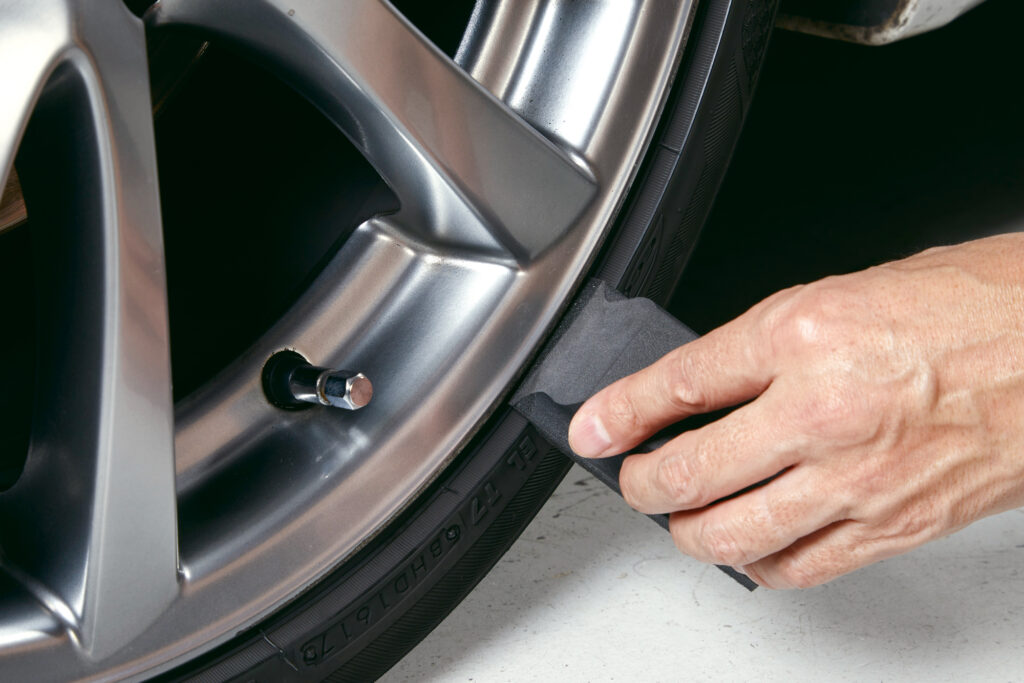
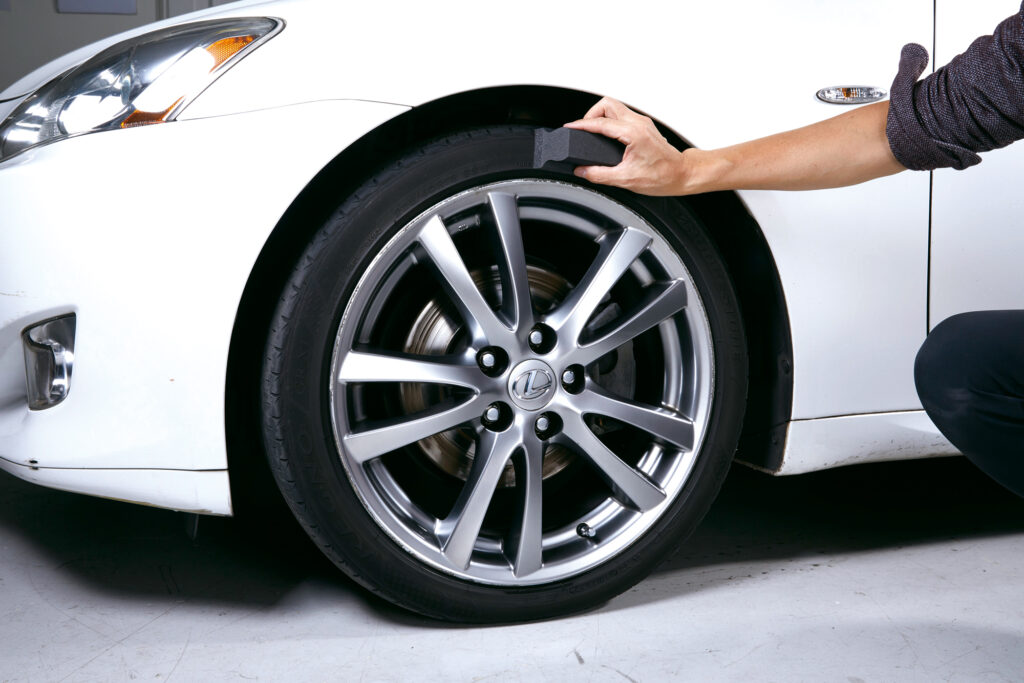
Wheels and tires collect the toughest grime on the car — brake dust, road tar, and pitch — and they’re often the last thing detailed and the first thing neglected. Left uncleaned, this buildup can also cause UV cracking and browning on tires over time.
Wheels and tires collect the toughest grime on the car — brake dust, road tar, and pitch — and they’re often the last thing detailed and the first thing neglected. Left uncleaned, this buildup can also cause UV cracking and browning on tires over time.
What to do:
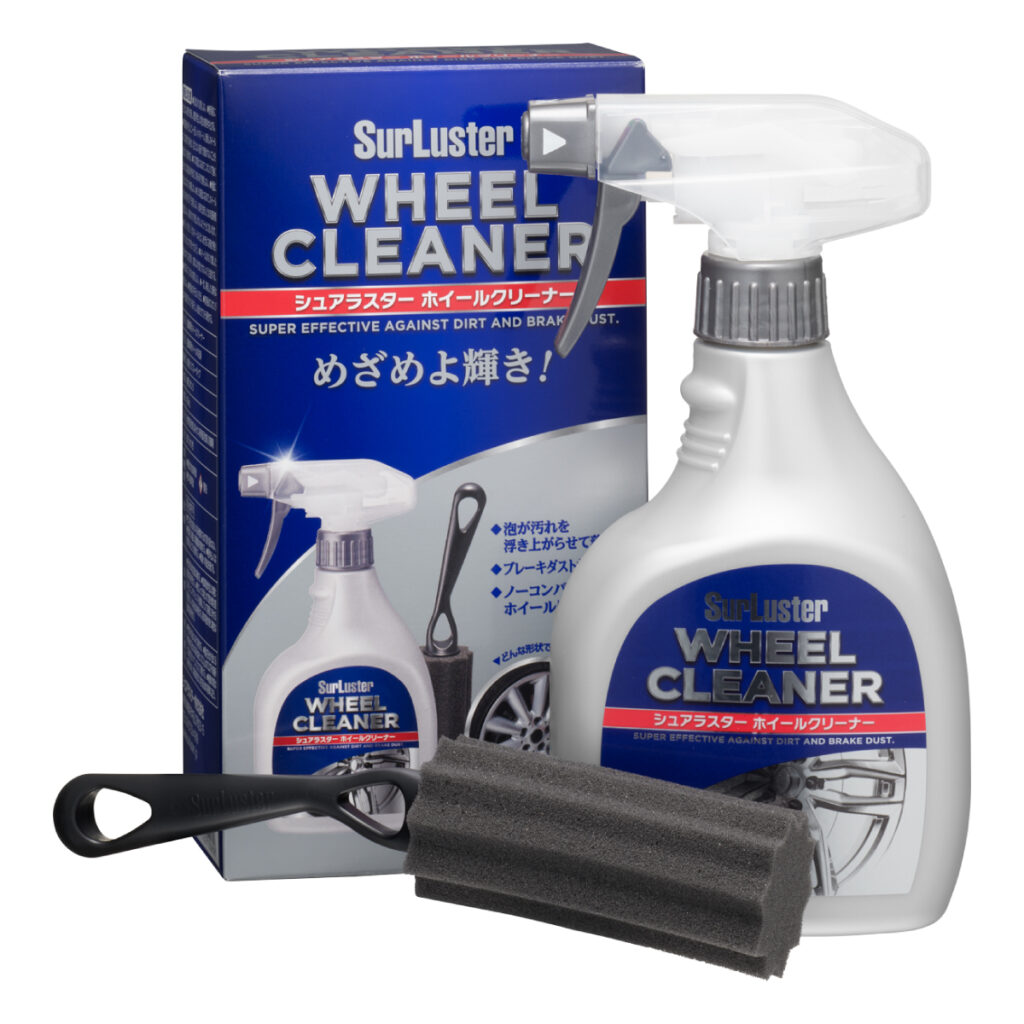
- Use a dedicated wheel cleaner safe for your wheel finish (check if you have painted, chrome, or bare alloy wheels).
- Agitate with a wheel brush to get into spokes and lug nut areas.
- Rinse thoroughly, then apply a tire dressing for a clean, non-greasy finish.
Pro tip: clean wheels before you wash the rest of the car, so any overspray from wheel cleaner doesn’t land on paint you’ve already finished.
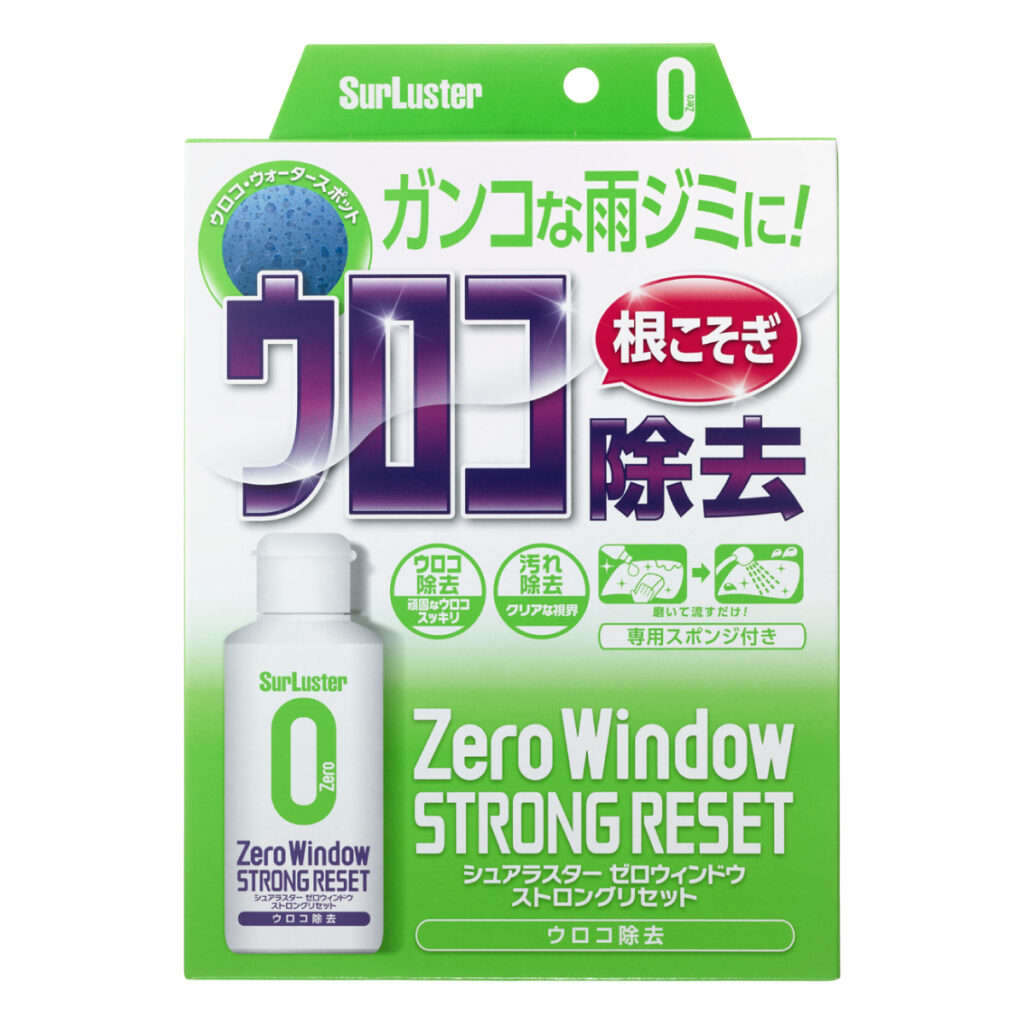
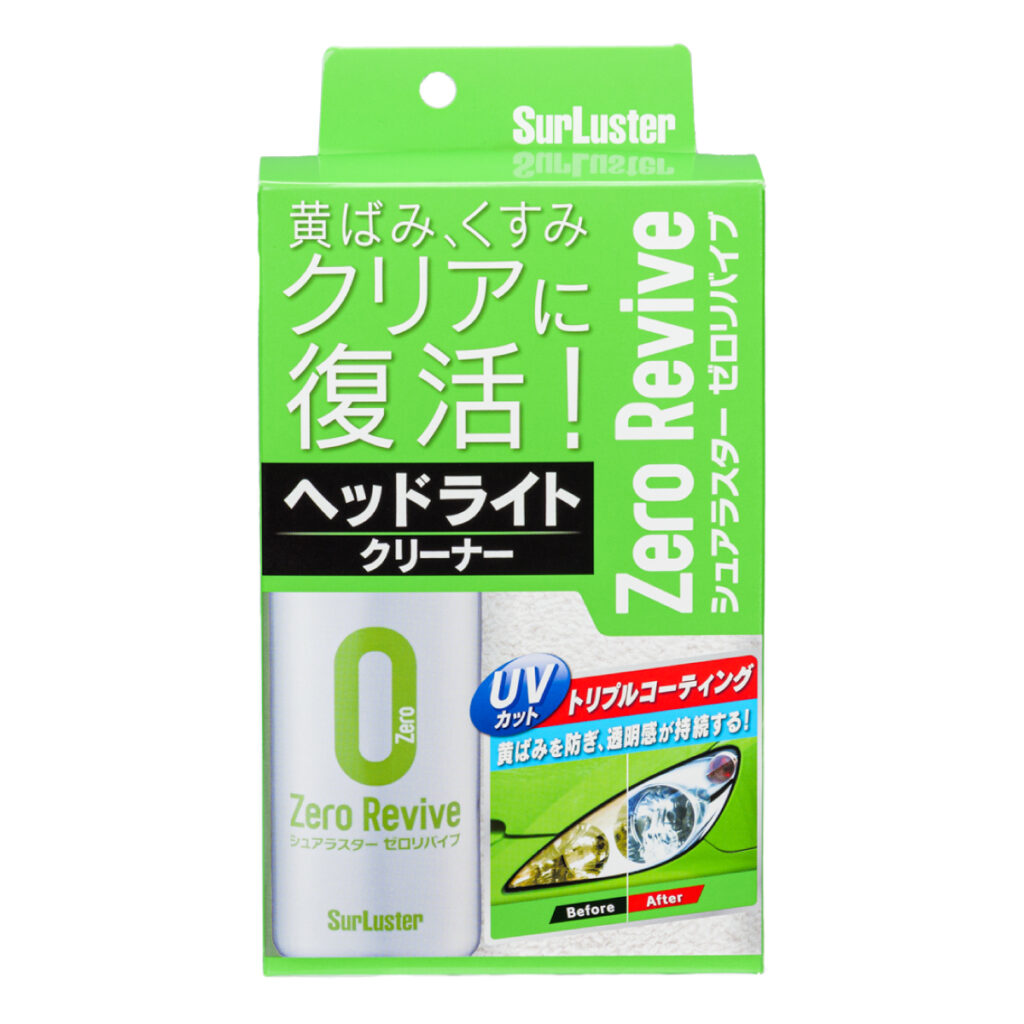
6.Glass & Parts (Headlights): The Step That Affects Safety, Not Just Looks
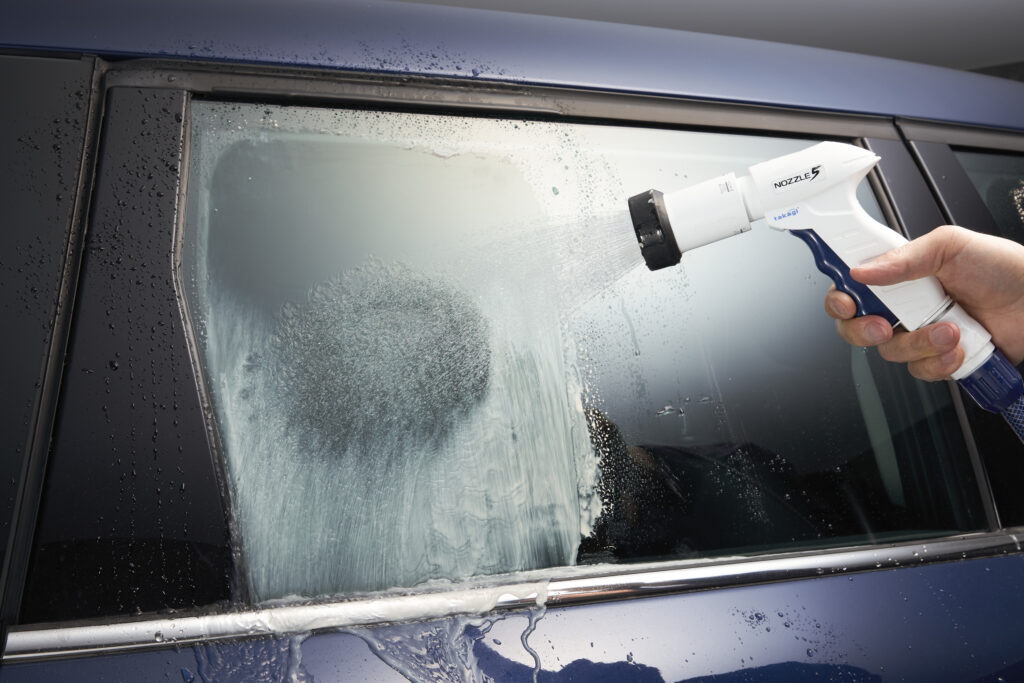
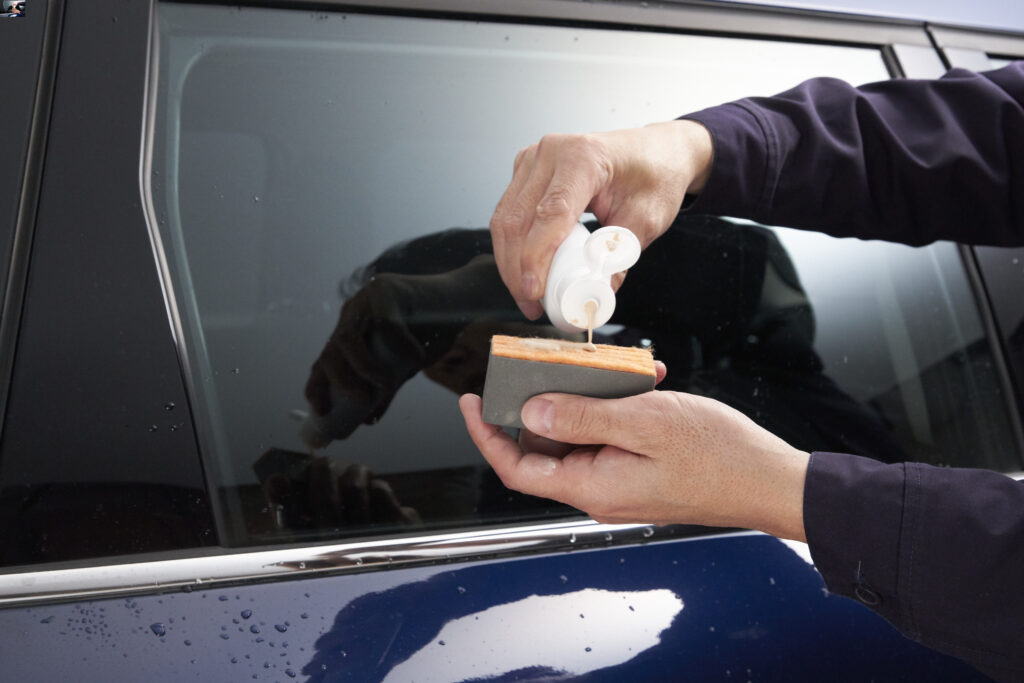
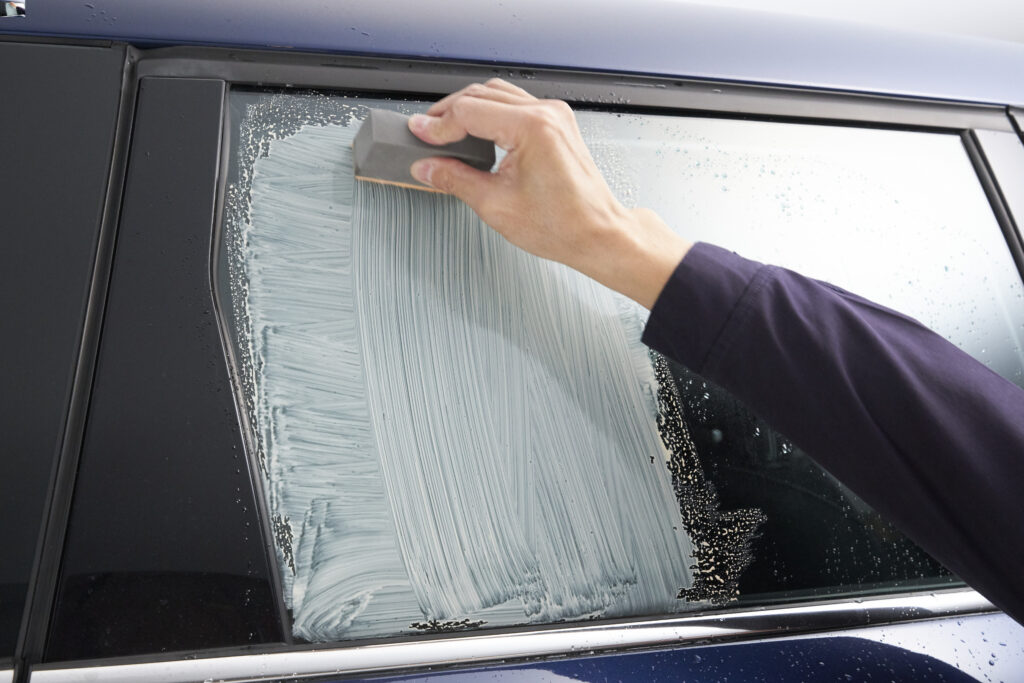
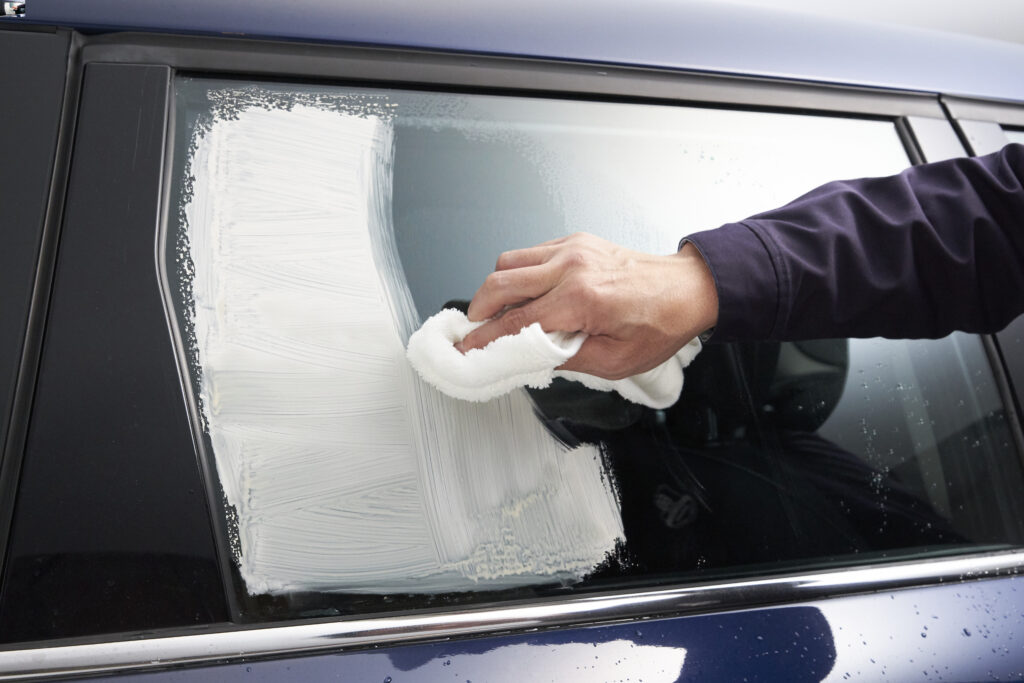
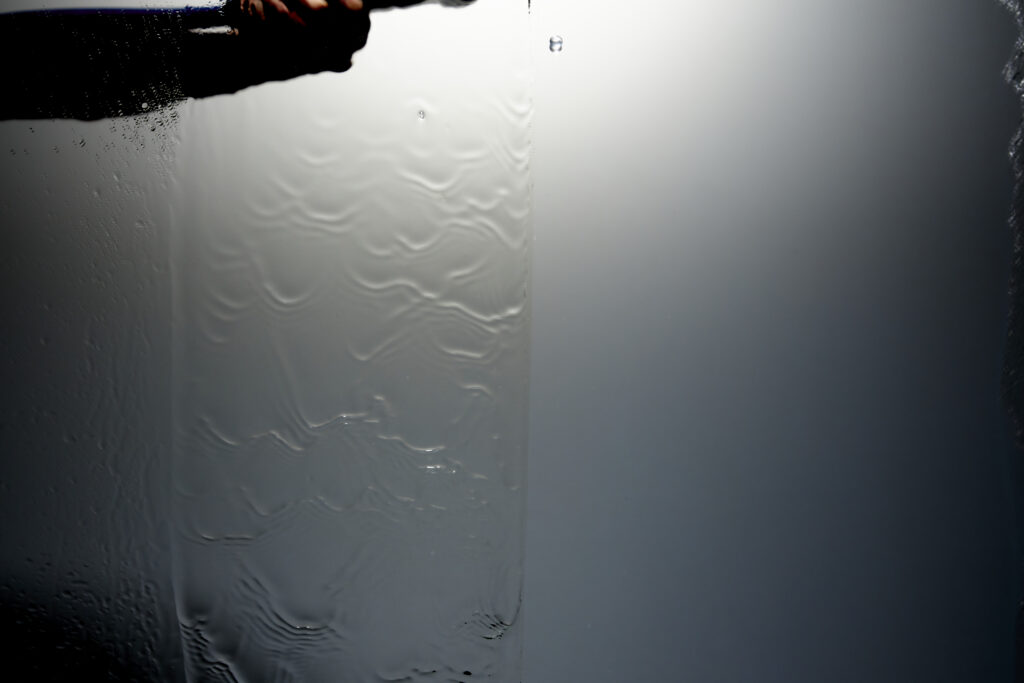
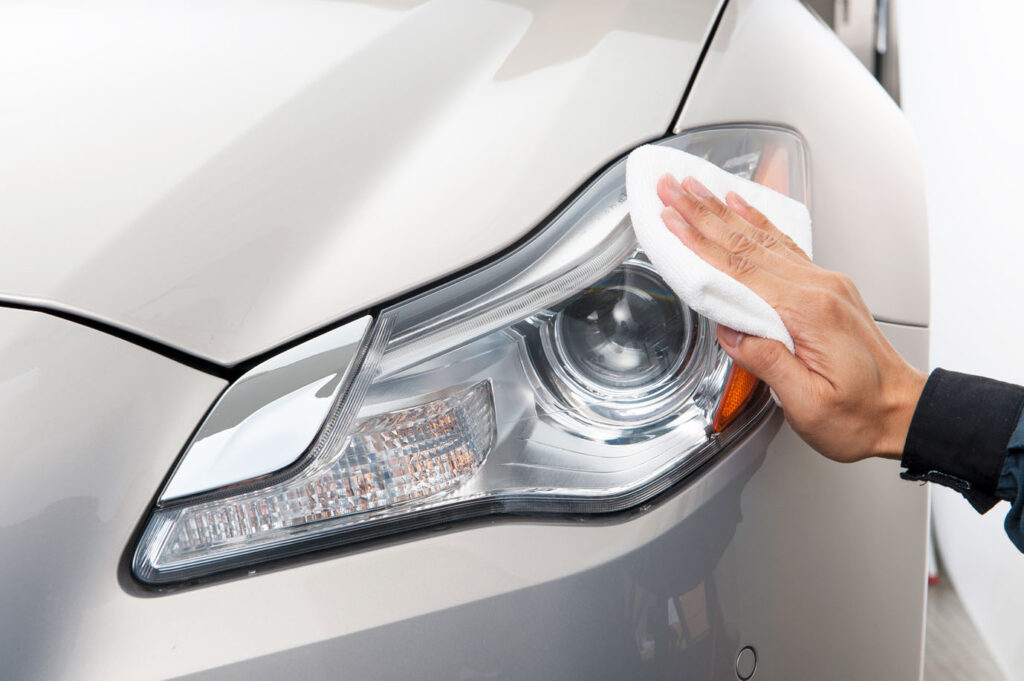
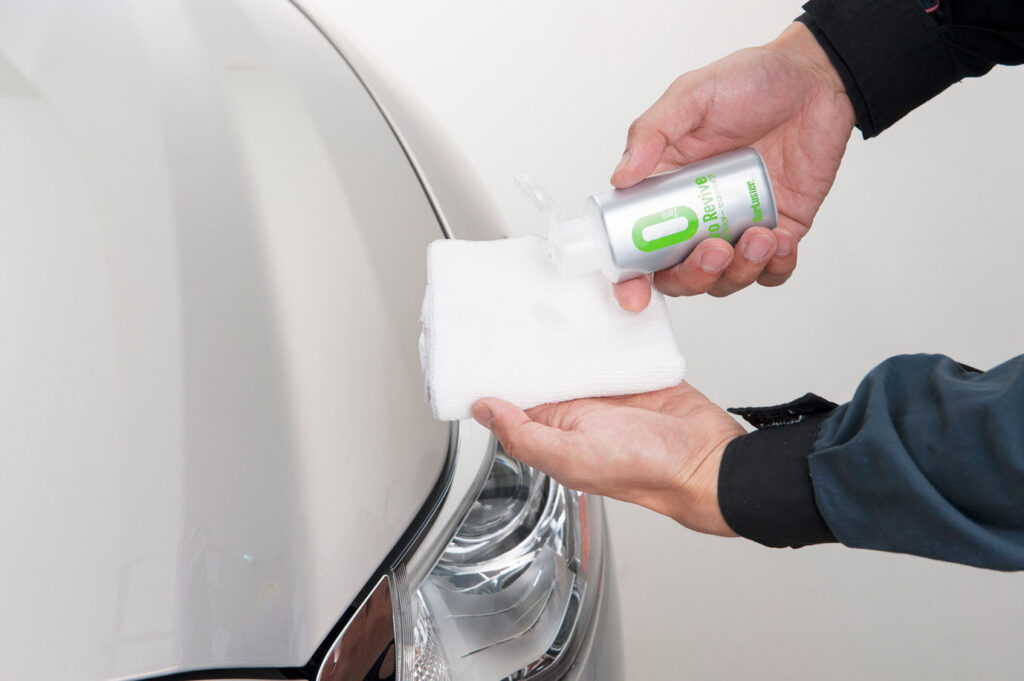
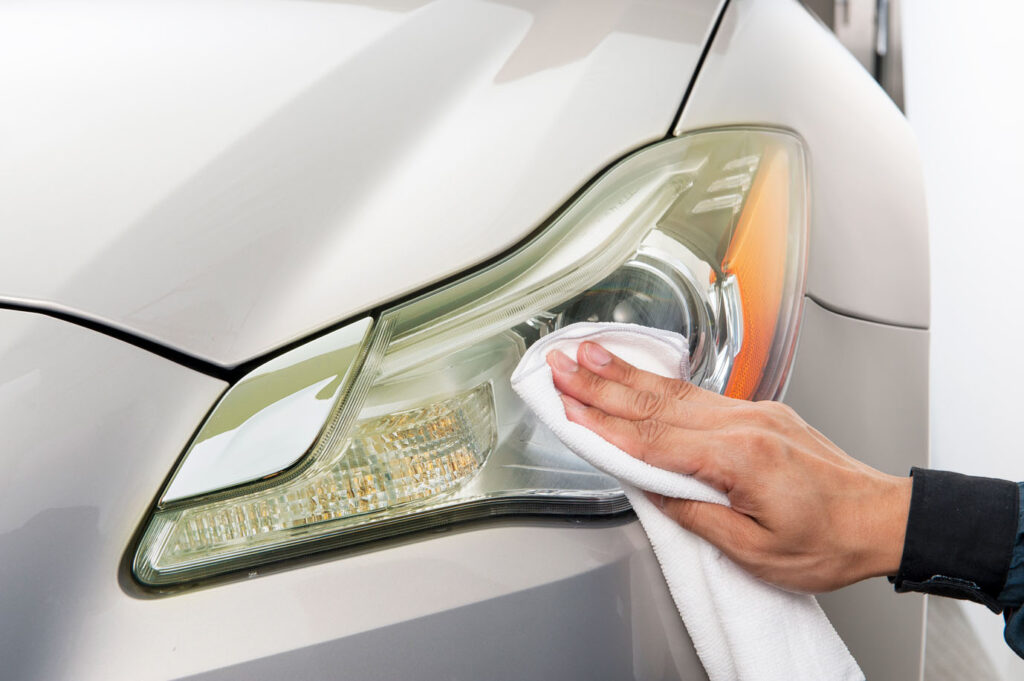
Streaky or hazy glass isn’t just unattractive — it affects visibility, especially at night or in rain. Regular glass cleaners can leave residue that actually makes this worse.
What to do:
- Use a dedicated automotive glass cleaner (ammonia-free, safe for tinted windows).
- Clean in a crosshatch pattern (horizontal strokes inside, vertical outside) so you can identify which side any streaks are on.
- Consider a rain-repellent glass treatment for the windshield to improve visibility in wet weather.
7.Interior: Finish Where You Spend Your Time
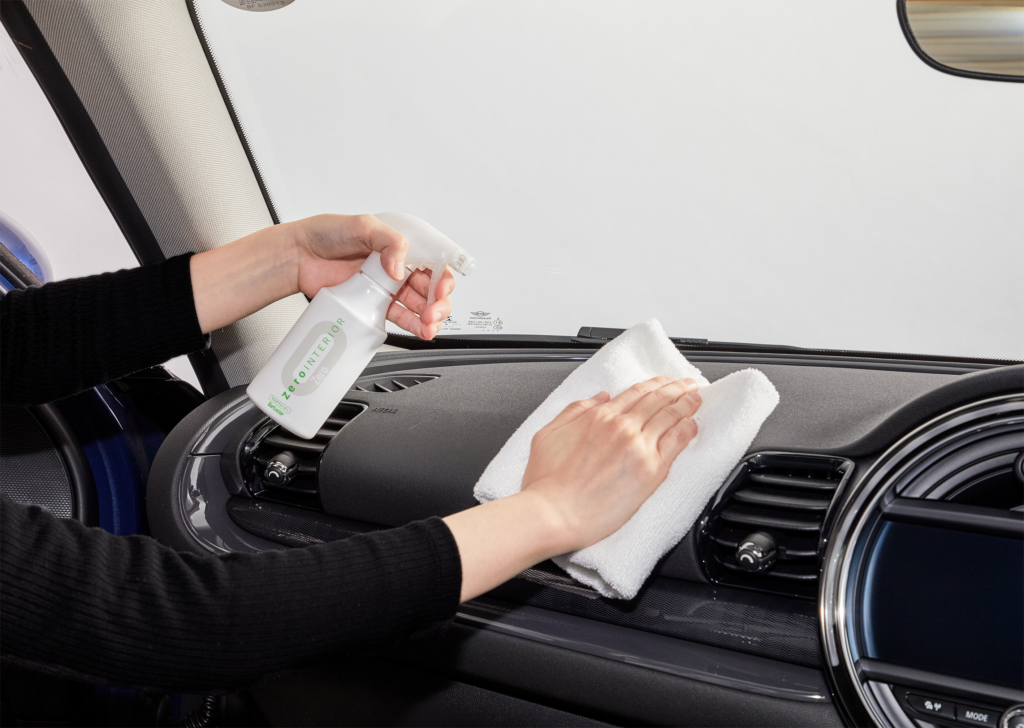
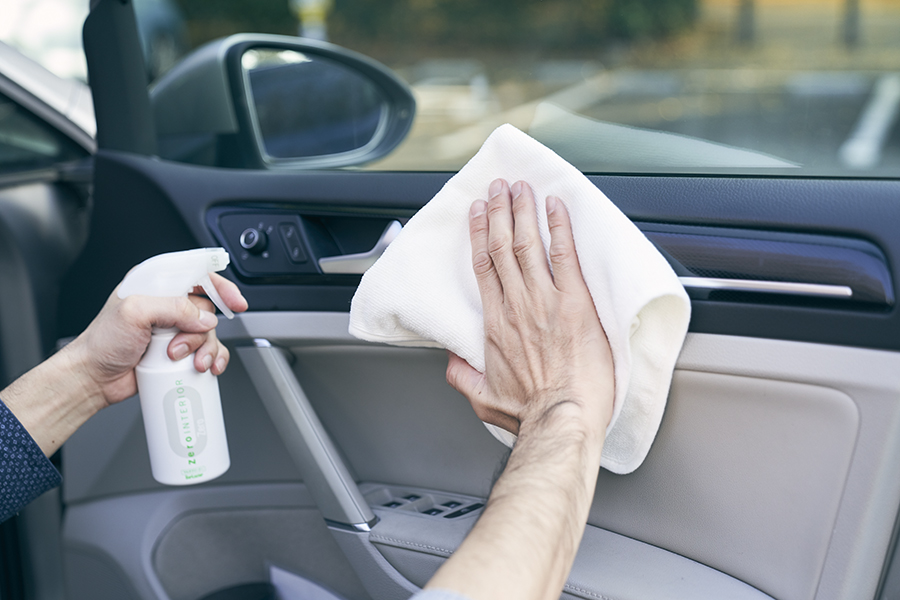
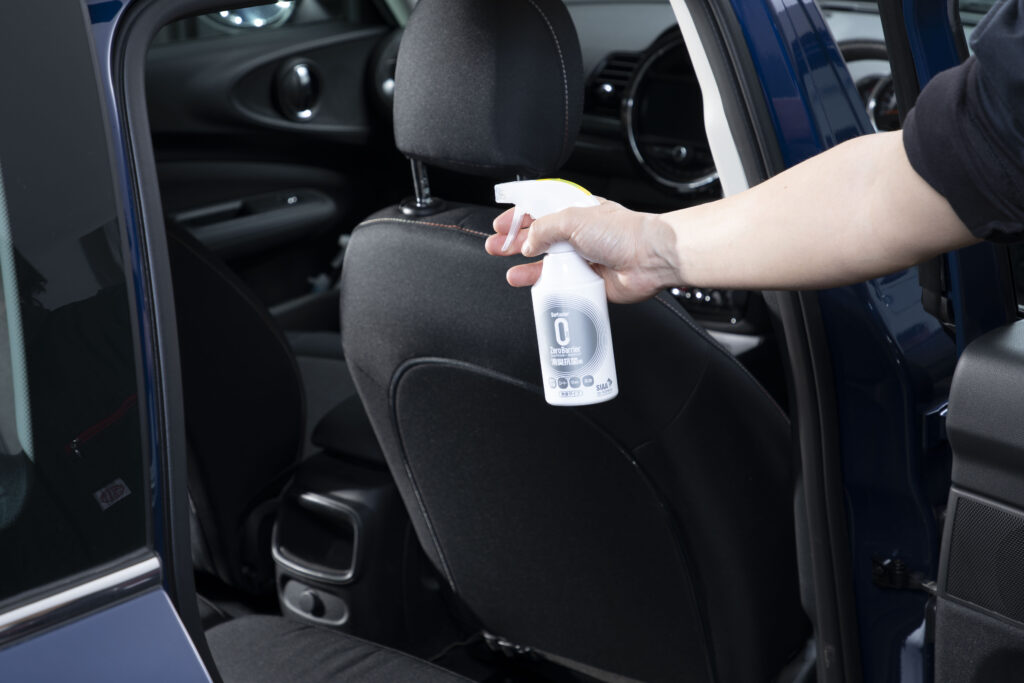
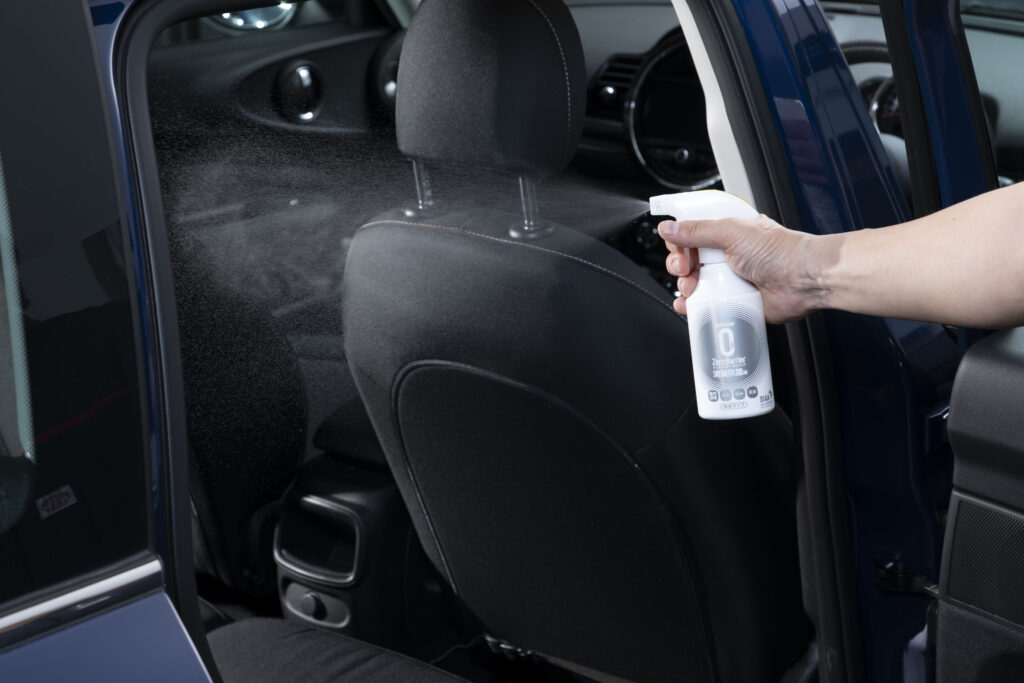
A detailed exterior with a neglected interior only tells half the story.
What to do:
- Vacuum seats, carpets, and mats, including under the seats.
- Wipe down hard surfaces (dash, console, door panels) with an interior cleaner suited to the material.
- Treat leather or vinyl surfaces to prevent cracking and fading from UV exposure.
- Finish with an air freshener or odor eliminator if needed.
Frequently Asked Questions
How long does a full detail take for a beginner?
Expect 3–5 hours for a full exterior and interior detail the first time. It gets faster with practice, and steps like clay decontamination don’t need to be done every time — usually every few months is enough.
Do I need to wax my car every time I wash it?
No. Washing can be weekly, but wax or coating typically lasts weeks to months depending on the product, so it doesn’t need to be reapplied every wash.
What’s the one step beginners skip most often?
Decontamination (the clay bar step). It’s invisible in photos, so it’s the easiest step to overlook — but it has a big impact on how smooth and glossy the final result looks.
Can I use the same shampoo for the car and the wheels?
It’s better to use a dedicated wheel cleaner. Wheels deal with heavier grime like brake dust, and using the wrong product can be too harsh for your paint or too weak for your wheels.
Final Thoughts
Detailing your car doesn’t require professional equipment or years of experience — it requires following the right steps in the right order. Start with a clean foundation, decontaminate what washing can’t remove, polish if needed, protect with wax or coating, and finish with the details — wheels, glass, and interior — that most people forget.
Since 1947, SurLuster has been helping car owners care for the vehicles that carry their everyday moments — from a quiet solo drive to weekend trips with family. Whichever step of this checklist you’re working on, the right product makes it easier to get it right the first time.
