
Keeping your car looking its best isn’t just about removing dirt — it’s about washing it the right way to avoid creating swirl marks and fine scratches. Many owners unintentionally damage their paint by using the wrong order or dirty tools.
In this article, we cover essential techniques that help you clean your vehicle efficiently while protecting the paint. In this guide, you’ll learn the safest and most effective car wash procedure: why you should start with the wheels, the golden “top to bottom” rule, proper tool handling, and the correct flow — Wash → Detail → Protect and Add Shine.
Why the Washing Order Matters
It might feel natural to start with the most visible dirty spots, but that approach often backfires. The dirtiest areas on any vehicle are usually the wheels, tires, and lower body. These collect heavy road grime, mud, brake dust, tar, and asphalt particles.
If you wash the body first and leave the wheels until last, dirty water and debris will splash onto your freshly cleaned paint. This forces you to redo sections and greatly increases the risk of scratches.
Recommended washing order:
- Start with the wheels and tires (the dirtiest area)
- Then wash the body from top to bottom (roof → windows → hood → doors → bumpers)
Washing top to bottom lets gravity help carry dirt downward, so you don’t re-contaminate clean areas. If you washed the roof last, dirt would run down and ruin the doors and hood you just cleaned.
How to Wash Your Car Without Scratching the Paint
Even high-quality car wash tools can cause damage if used incorrectly. Dirty sponges, dropped microfiber towels, or aggressive scrubbing turn small particles into sandpaper-like abrasives that create swirl marks.
Common causes of wash scratches:
- Using a dirty sponge or mitt that still has grit on it
- Reusing tools that fell on the ground without cleaning them
- Scrubbing too hard or in circular motions
- Skipping the pre-rinse (letting loose dirt grind against the paint)
Pro tips to avoid scratches:
- Always keep your tools clean — rinse them frequently (the two-bucket method is highly recommended)
- Use gentle pressure and straight-line motions instead of circles
- Choose soft microfiber wash mitts or sponges designed for cars
- For tight areas (around moldings, wipers, or emblems), use soft detailing brushes
- Never wash a hot car in direct sunlight — heat causes products to dry too fast and create water spots
Step-by-Step Scratch-Free Car Wash Procedure
Follow this reliable sequence for professional-level results: Wash → Remove stubborn contaminants → Dry → Protect.
1. Preparation and Pre-Rinse
Gather your supplies first:
- pH-neutral car shampoo
- Microfiber wash mitt or sponge
- Soft detailing brushes
- Two buckets (one for soapy water, one for rinsing)
- High-quality microfiber drying towels
- Wheel cleaner and iron remover (if needed)
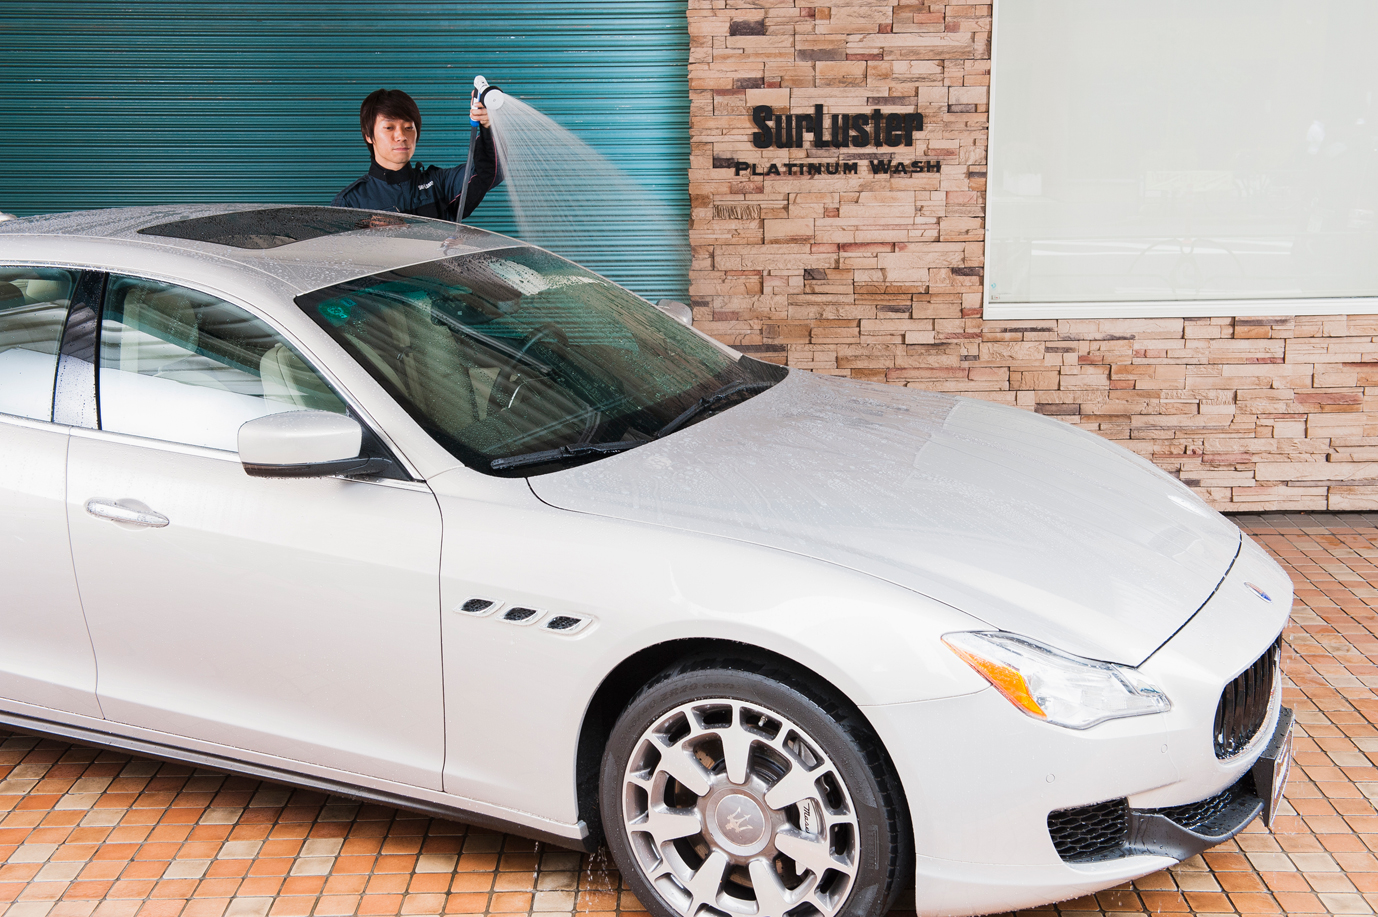
Start by thoroughly rinsing the entire car with plenty of water. This removes loose sand, dust, and mud — especially from the wheels and lower panels. If the car is hot, this step also cools the surface (preventing shampoo from drying too quickly and causing spots).
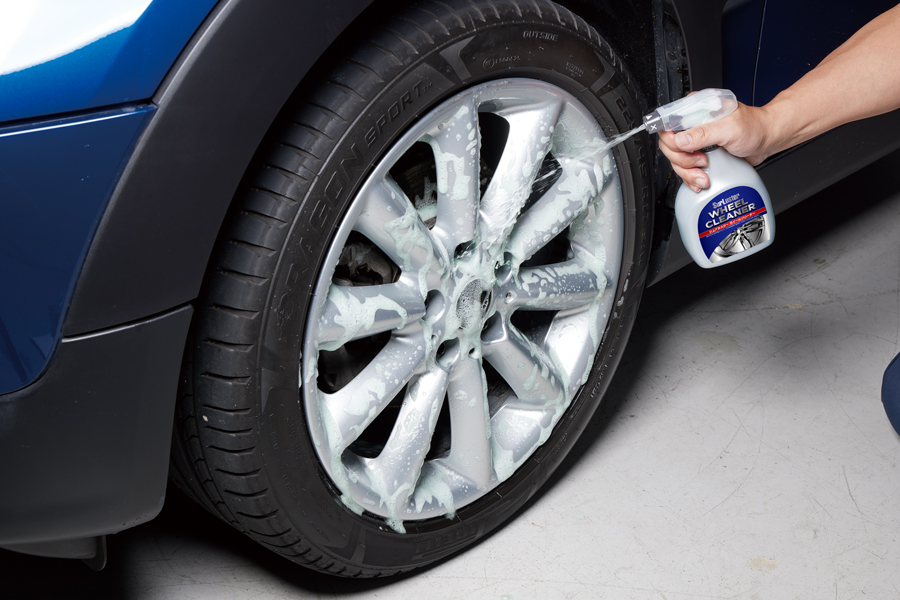
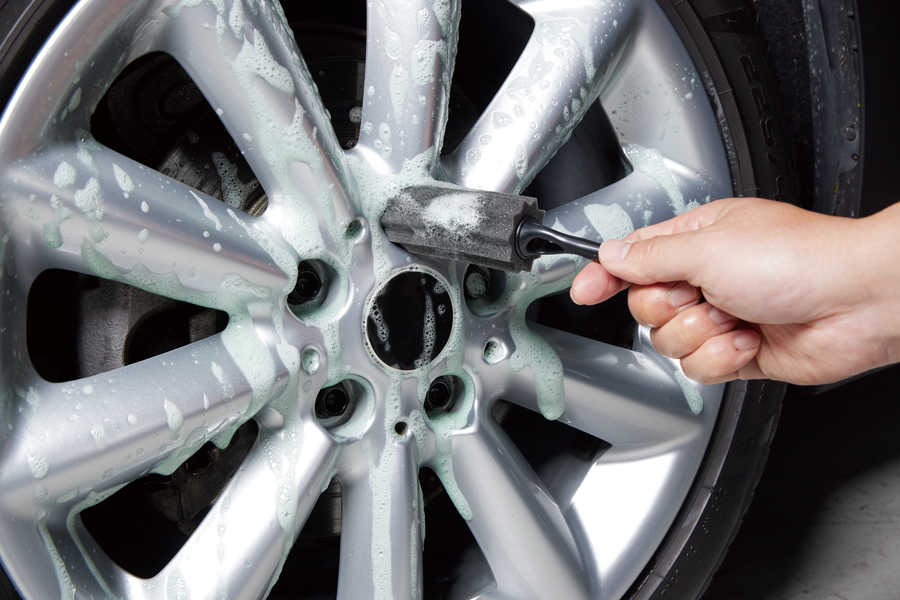
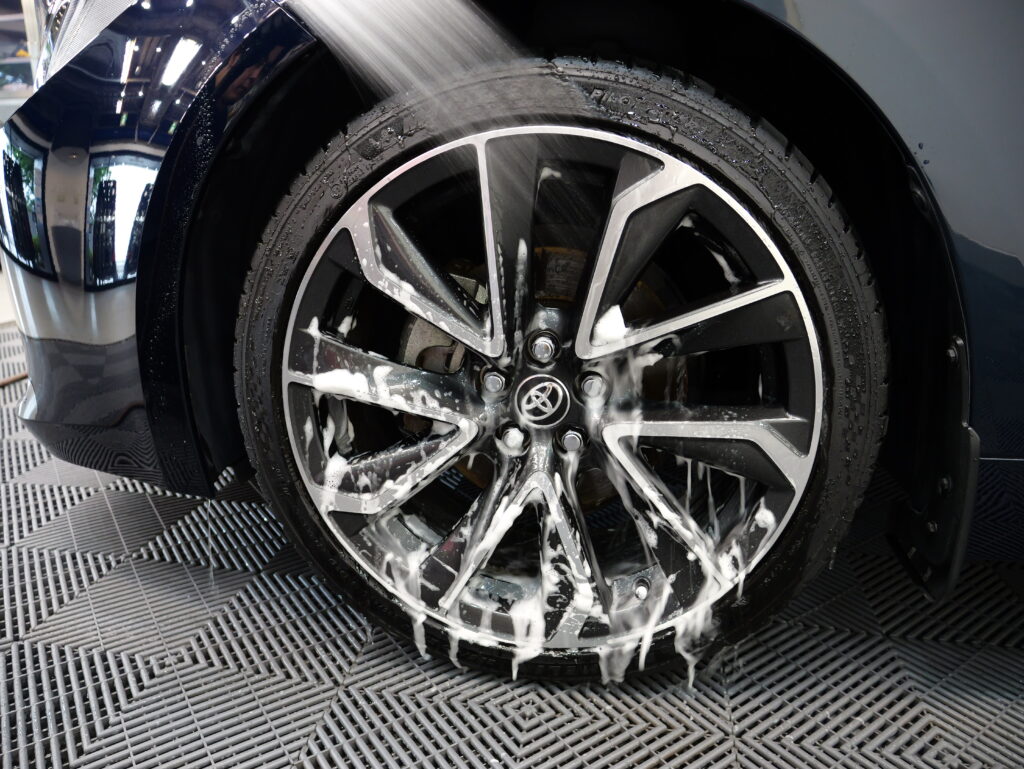
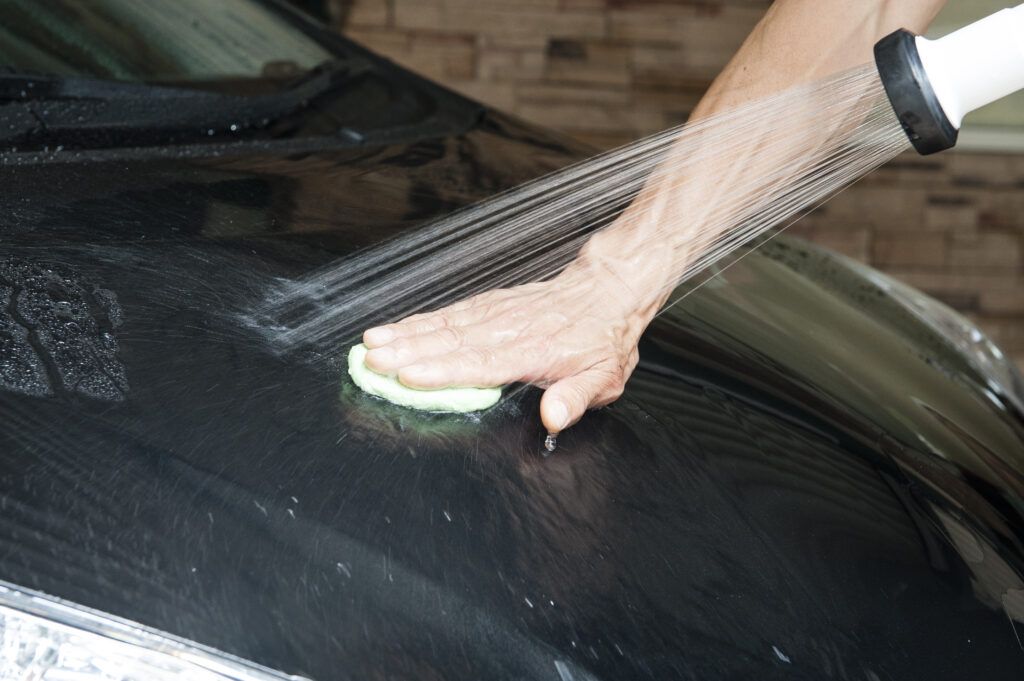
2. Wash the Wheels and Tires First
This is the most important starting point for an efficient, clean wash.
Wheels accumulate heavy brake dust, tar, and road grime. Use a dedicated wheel cleaner for stubborn brake dust. Apply it, let it dwell if instructed, then agitate gently with a brush or sponge using lots of suds and water.
Tip: Use light pressure — some wheel finishes are delicate. Rinse thoroughly. Any overspray on the body will be handled in the next steps.
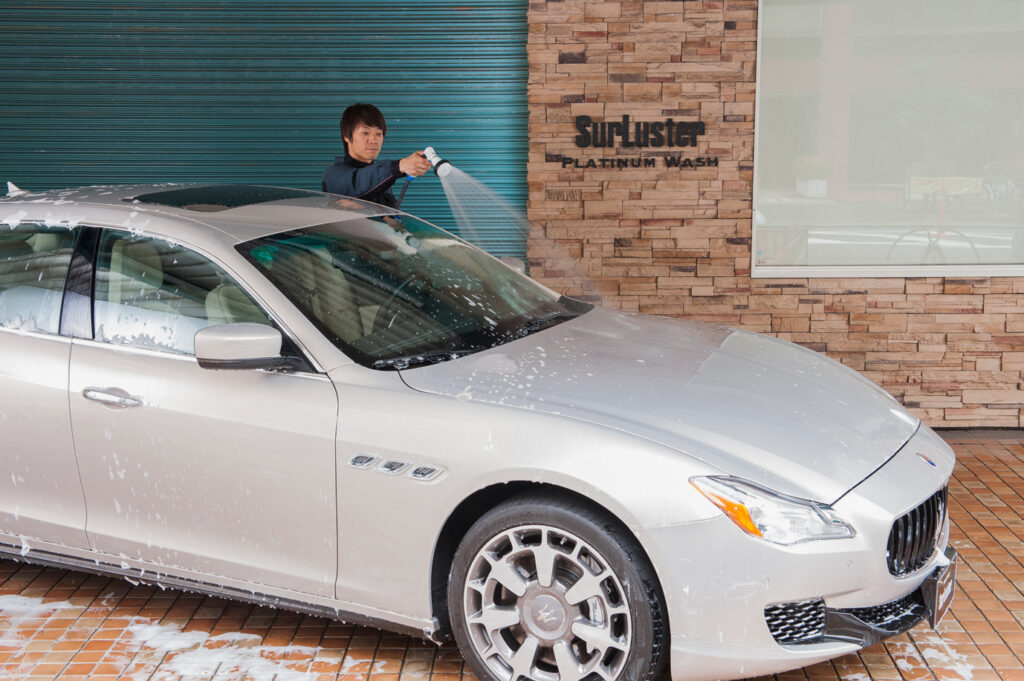
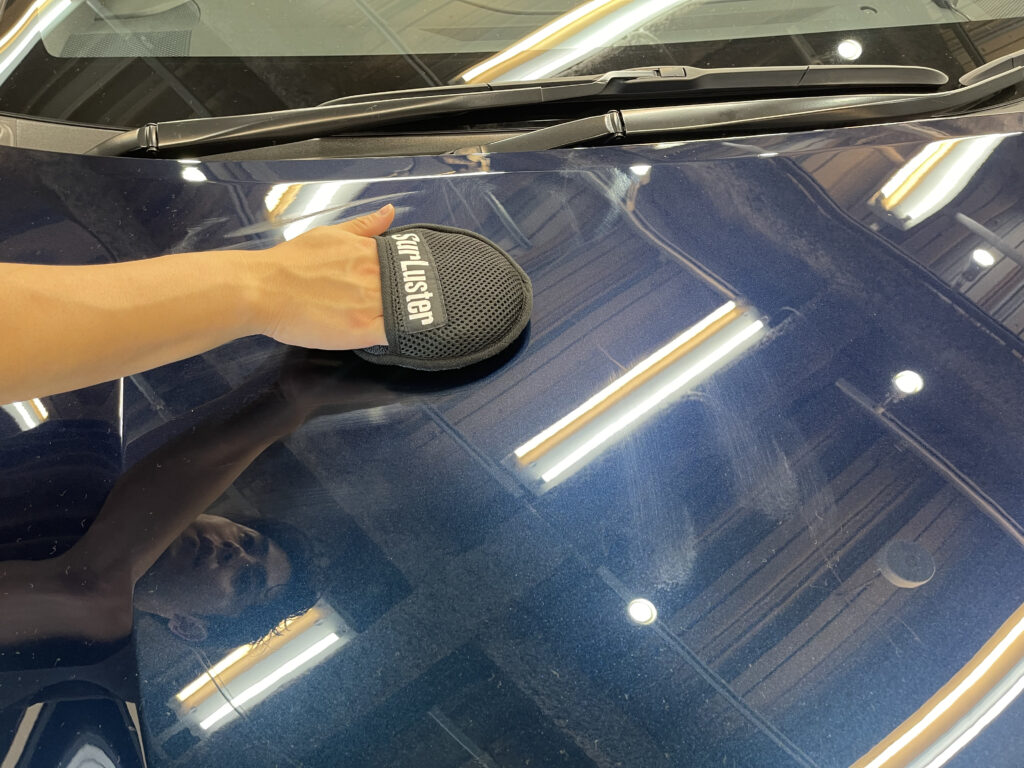
3. Body Wash (Top to Bottom)
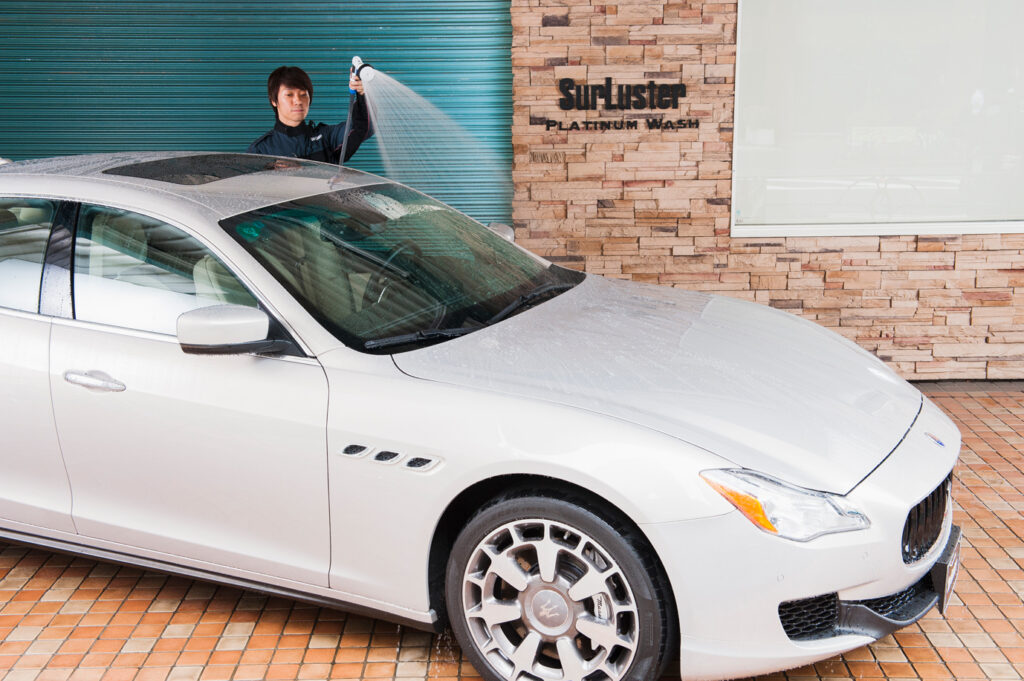
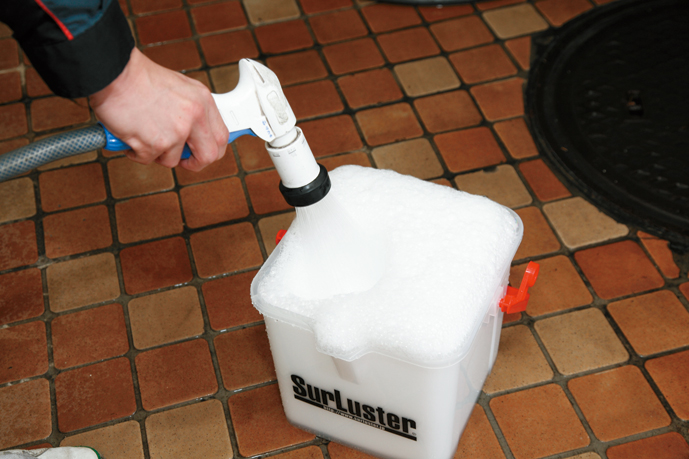
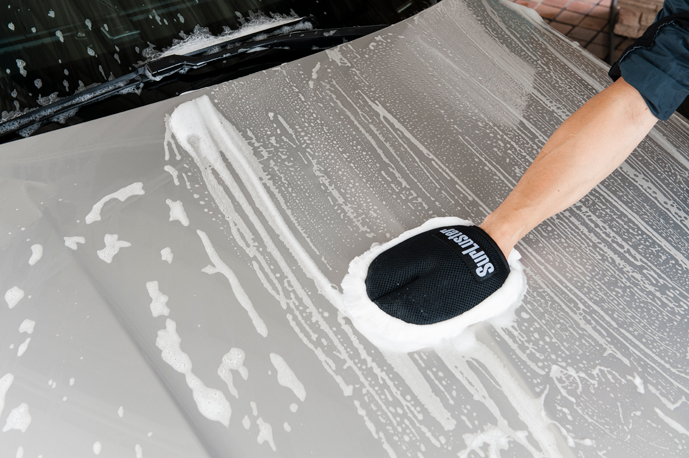
Now move to the paintwork using your car shampoo. Create rich, thick foam — the bubbles help lift dirt safely.
- Work in sections from top to bottom: roof, glass, hood, doors, sides, then bumpers.
- Use straight, overlapping strokes (never aggressive circles).
- Rinse your mitt often in the clean water bucket before reloading with soap (two-bucket method).
- For crevices and trim, switch to a soft brush. Avoid letting the shampoo dry on the surface.
4. Final Rinse and Drying
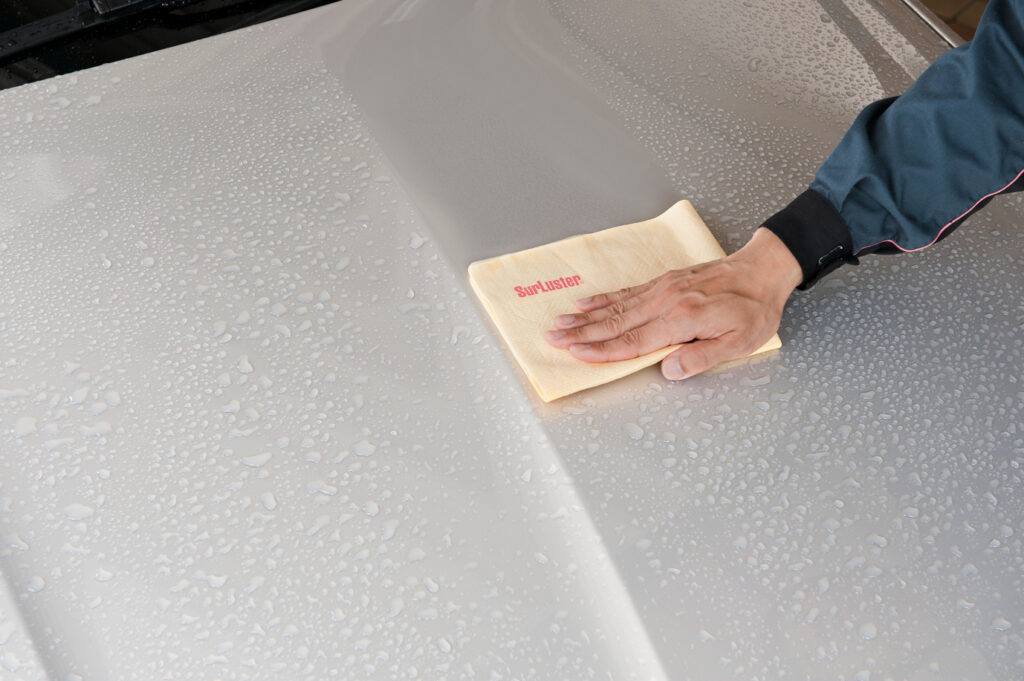
Rinse the entire car thoroughly to remove all shampoo residue — leftover soap can cause water spots.
Dry quickly with highly absorbent microfiber towels to prevent spots. For large areas like the hood, fold the towel and pull it in one direction. Work fast so water doesn’t evaporate and leave marks.
5. Remove Stubborn Contaminants (If Needed)
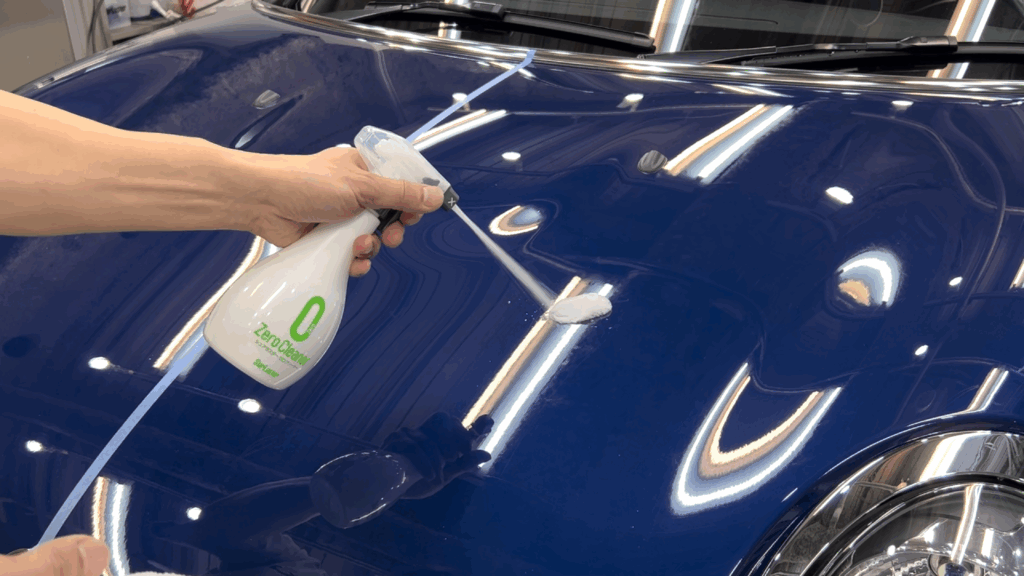
If shampoo alone doesn’t remove everything:
- Use a dedicated wheel cleaner for remaining brake dust
- Apply an iron remover (decon spray) for embedded metal particles that feel rough to the touch
- Tackle stubborn water spots or tar with specialized cleaners
Always follow product instructions. Many of these can be used during the wet process, but some require drying first.
6. Protection and Shine (Wax or Coating)
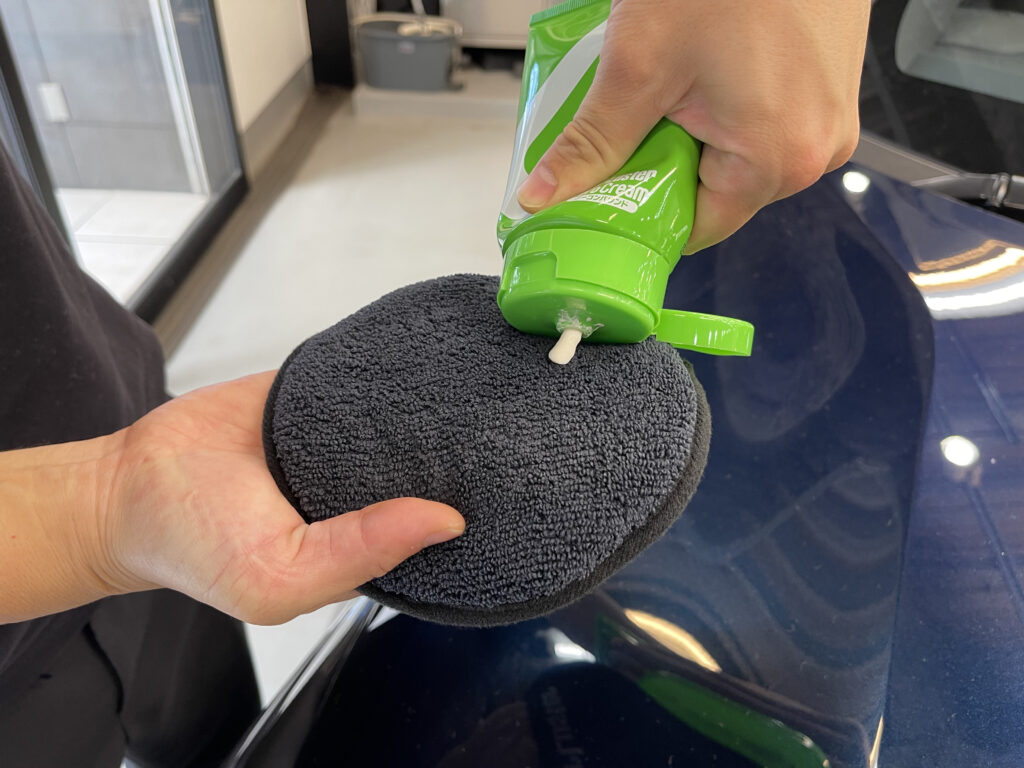
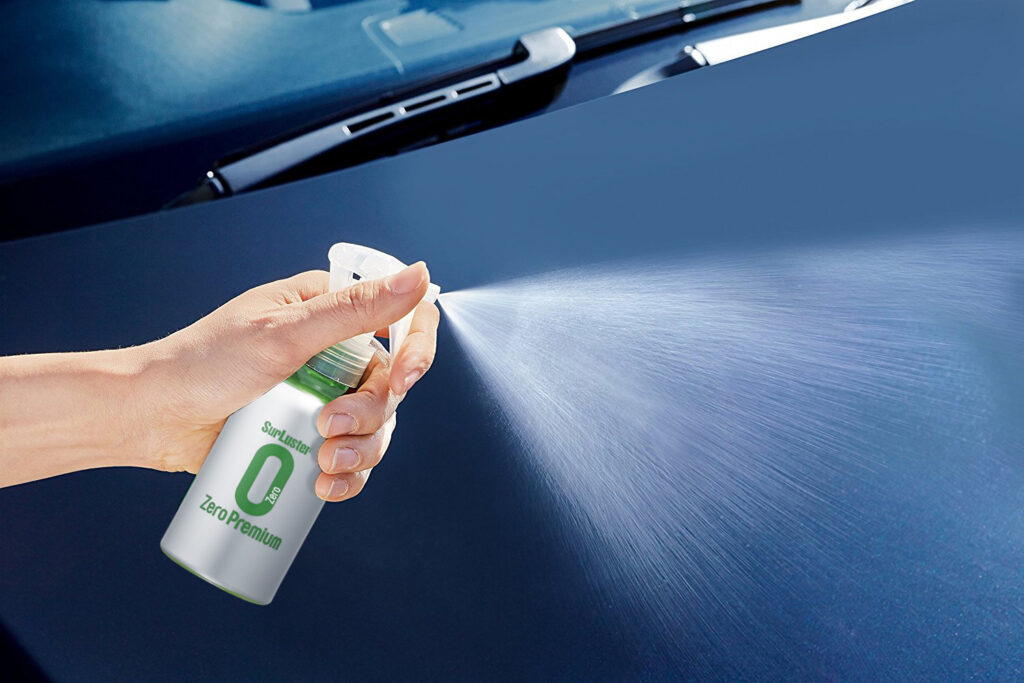
Once the car is completely clean and dry, apply wax, sealant, or a quick detailer spray for gloss and protection.
These products don’t just make your car shine — they create a sacrificial layer that shields the paint from UV rays, bird droppings, and contaminants.
Note: Some modern spray waxes or ceramic detailers work on a slightly damp surface, so check the instructions to streamline your workflow.
Final Tips for a Perfect Scratch-Free Wash
- Wash in the shade when possible
- Maintain your tools — wash and dry microfiber products properly after every use
- For heavily soiled cars, consider a pre-wash foam or snow foam to lift dirt before touching the paint
- Consistency is key: regular gentle washes prevent the need for aggressive cleaning later
By following this correct car wash procedure — starting with the wheels, working top to bottom, and treating your tools with care — you’ll keep your vehicle looking showroom-fresh while minimizing the risk of swirl marks and scratches.